
Last updated September 20, 2026
Free on-site gate assessment - hinges, posts, and your LiftMaster or Nice gate operator checked before anything is quoted
The assessment is free and the quote is the invoice.

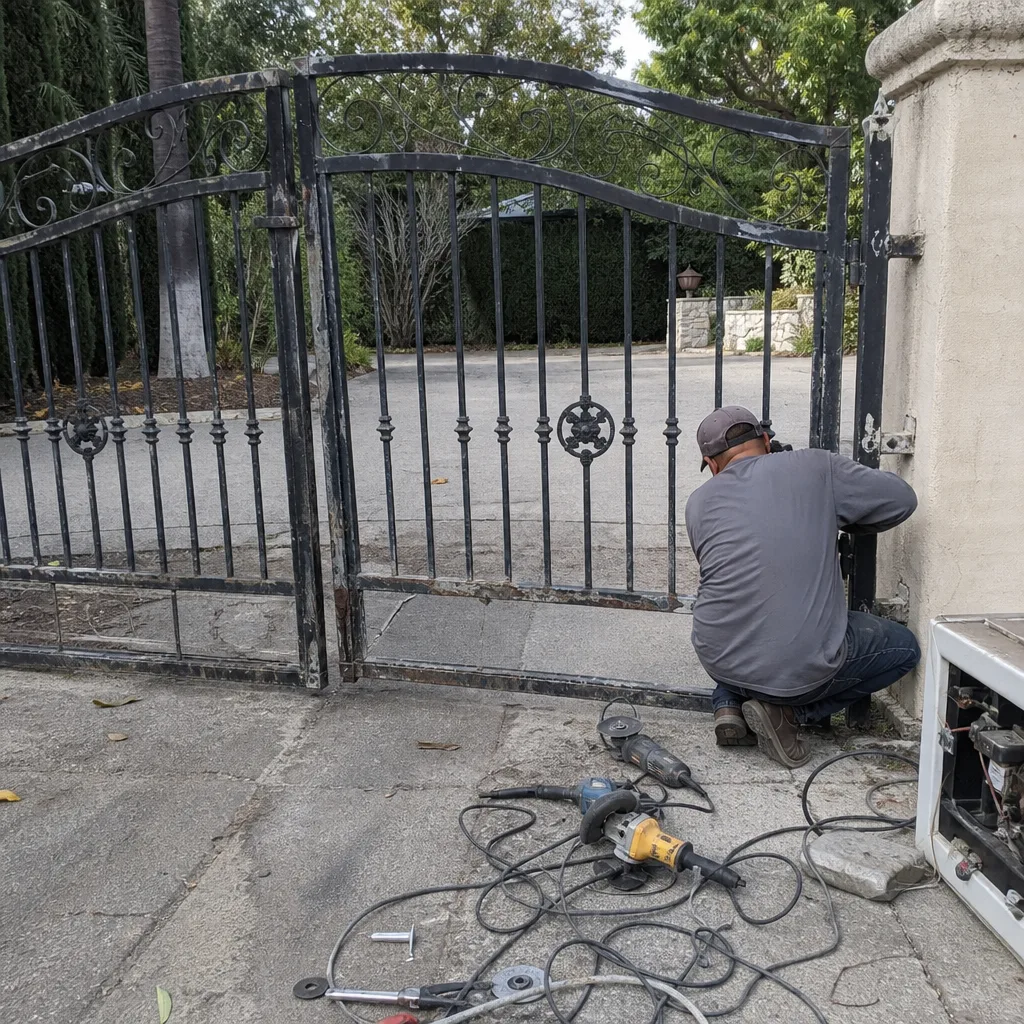 Before
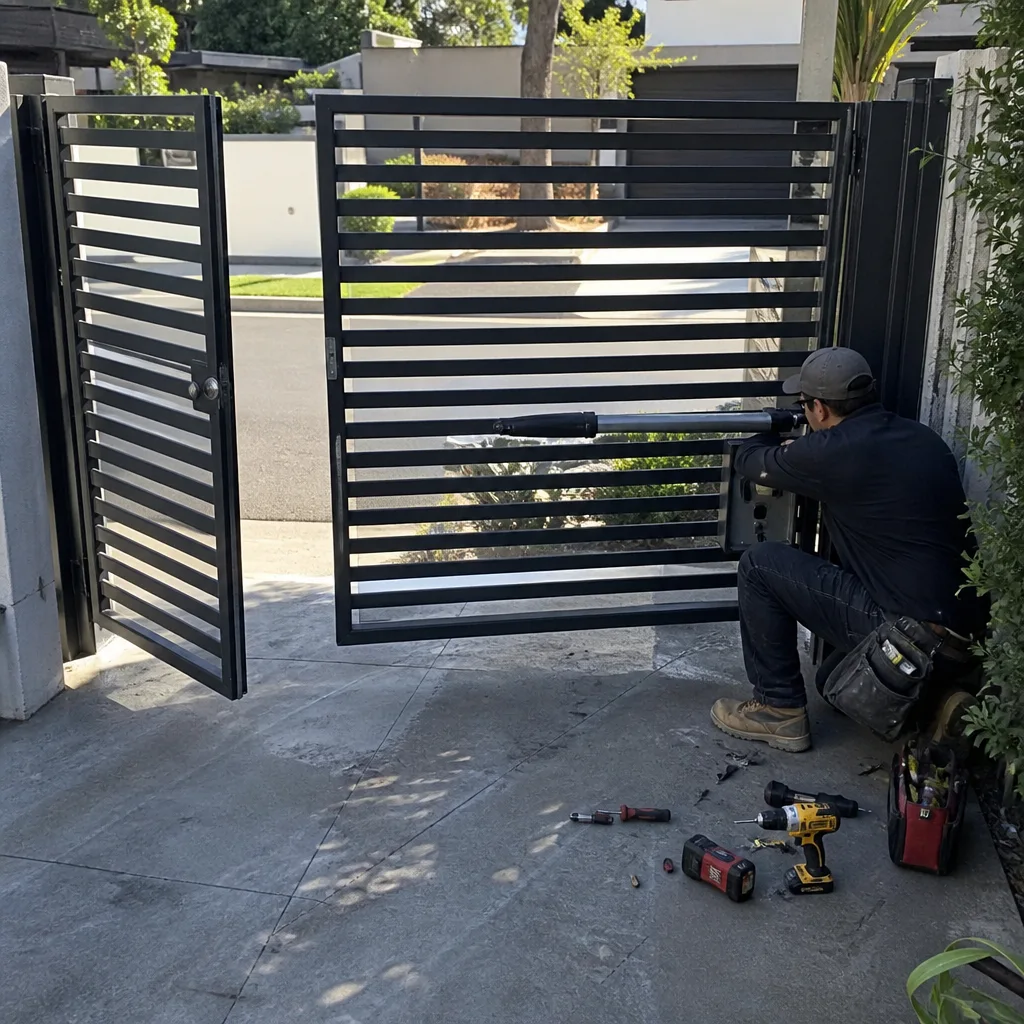 After
After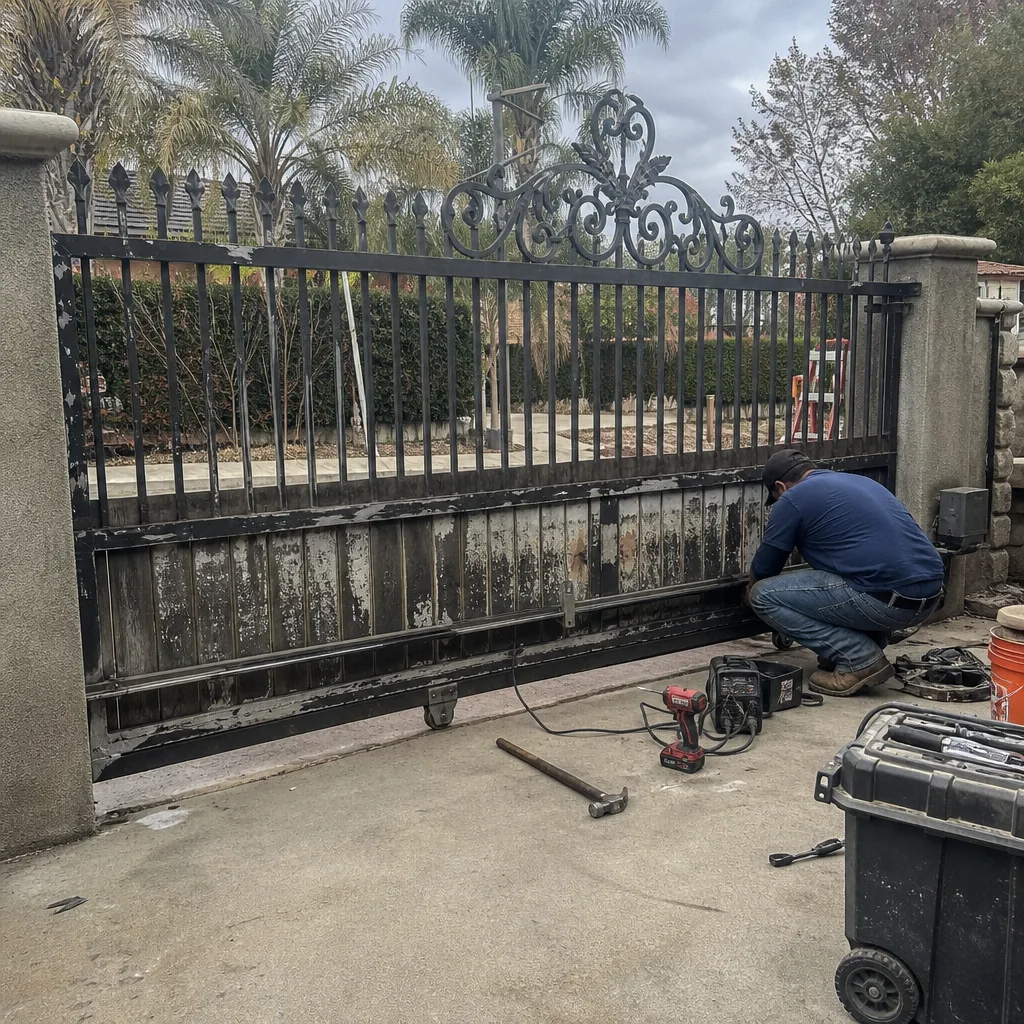 Before
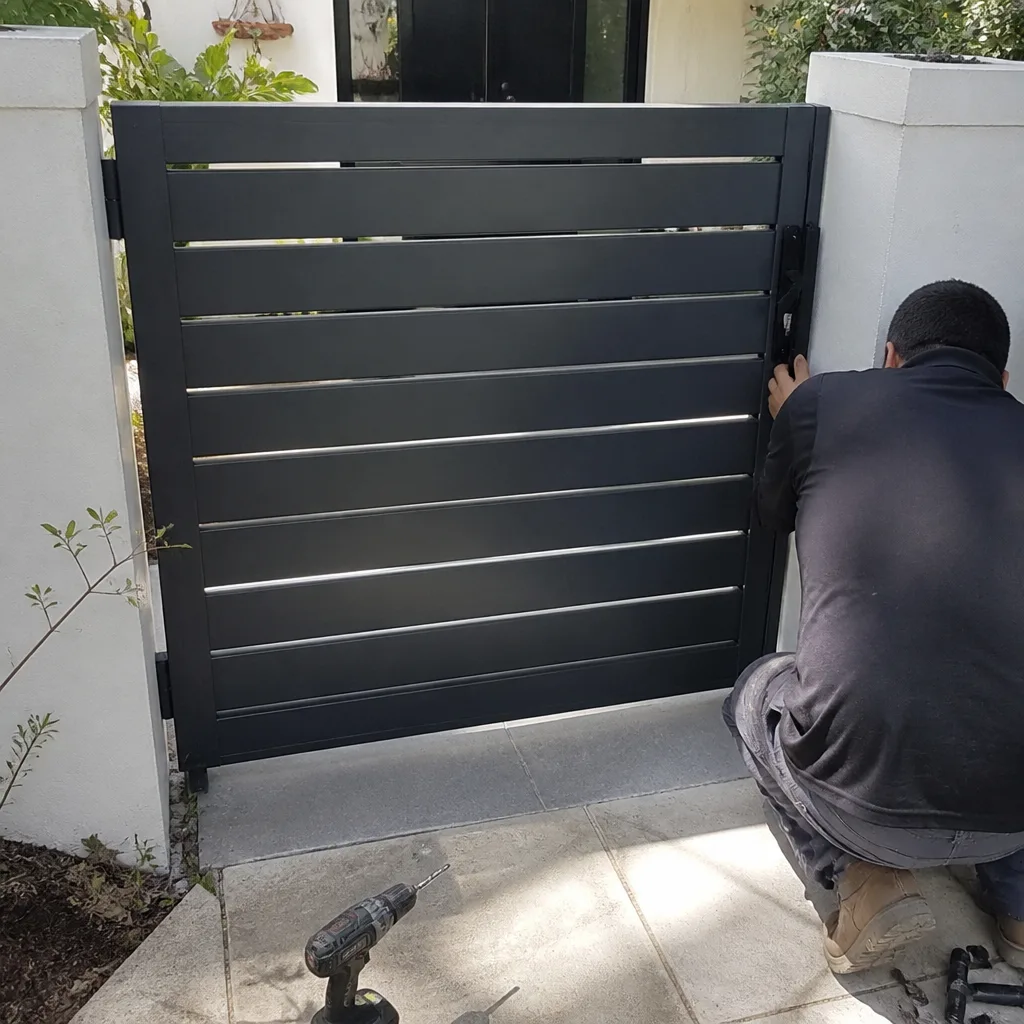 After
After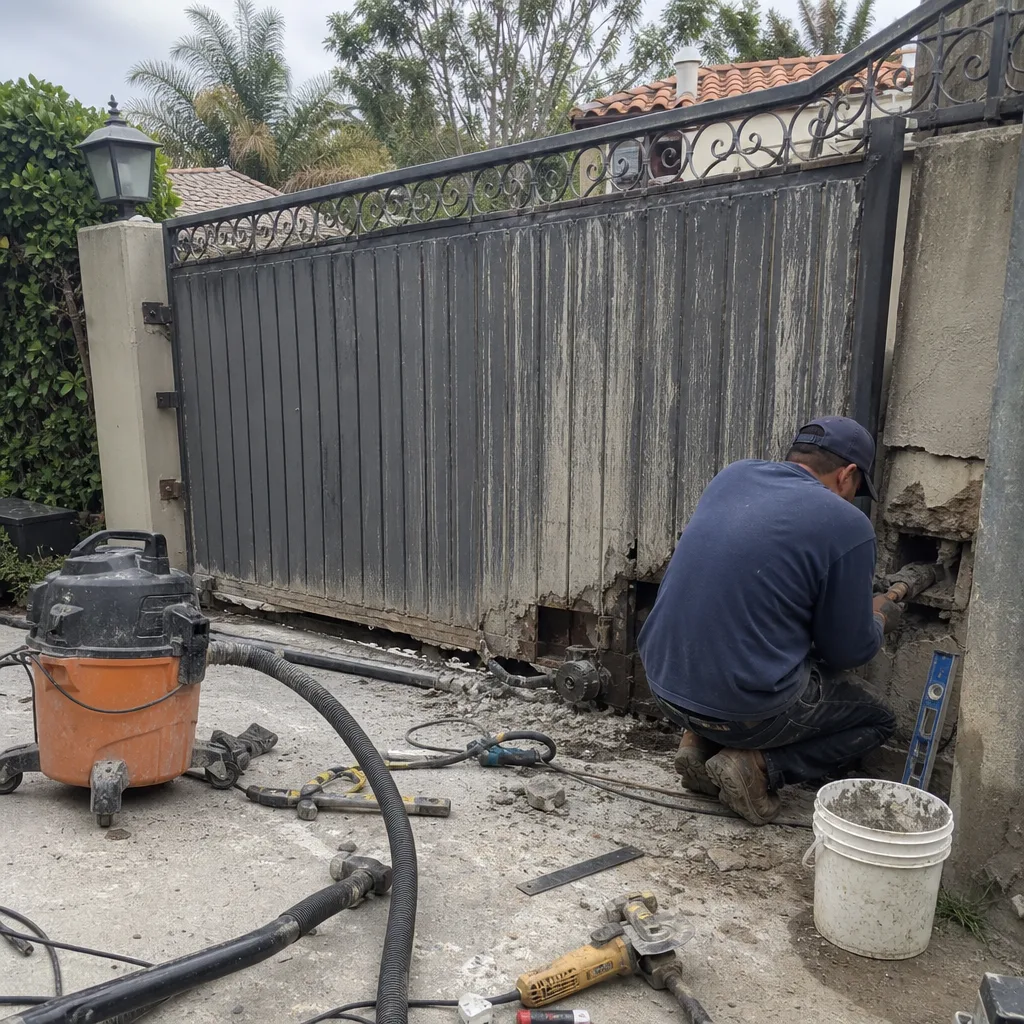 Before
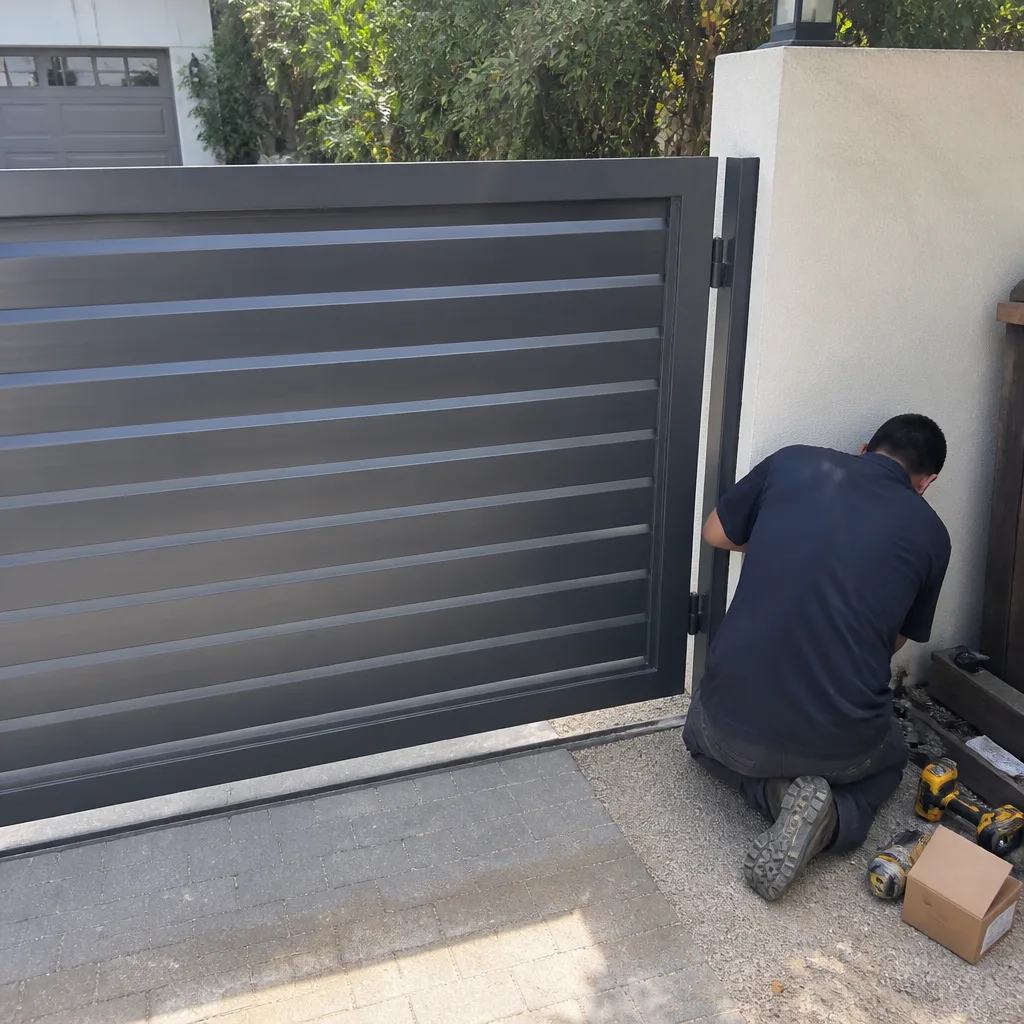 After
AfterDIY vs Professional Gate Repair: The Tarzana Homeowner’s Decision Guide
Here’s a statistic most Tarzana homeowners never hear: UL 325, the federal safety standard that governs every automatic gate in the United States, requires powered gates to have functioning entrapment protection at all times. If you adjust the obstruction-detection sensitivity yourself and the setting is wrong, that’s a documented modification. If the gate then closes on something, or someone, the question isn’t whether you intended harm. It’s whether the safety device was compliant. That’s a different conversation than “was the repair too hard to do yourself.” This guide maps the actual line between what a Tarzana homeowner can safely do and what creates a liability exposure you don’t want. You’ll learn which repairs are legally yours to make, which require a C-10 or C-61 licensed contractor, what UL 325 actually demands, and what documentation protects you if a gate is ever involved in an incident.
Quick Answer
For most Tarzana homeowners, DIY gate repair is appropriate only for mechanical maintenance tasks: lubricating hinges, tightening bolts, checking battery voltage, and cleaning photo-eye lenses. Any repair that touches the motor, control board, limit switches, obstruction-detection sensitivity, or safety circuits is legally and practically professional territory, both because UL 325 creates a compliance obligation and because a misdiagnosis usually costs more than Gate Repair services would have. The true dividing line isn’t skill level. It’s liability exposure and the cost of buying the wrong part.
Table of Contents
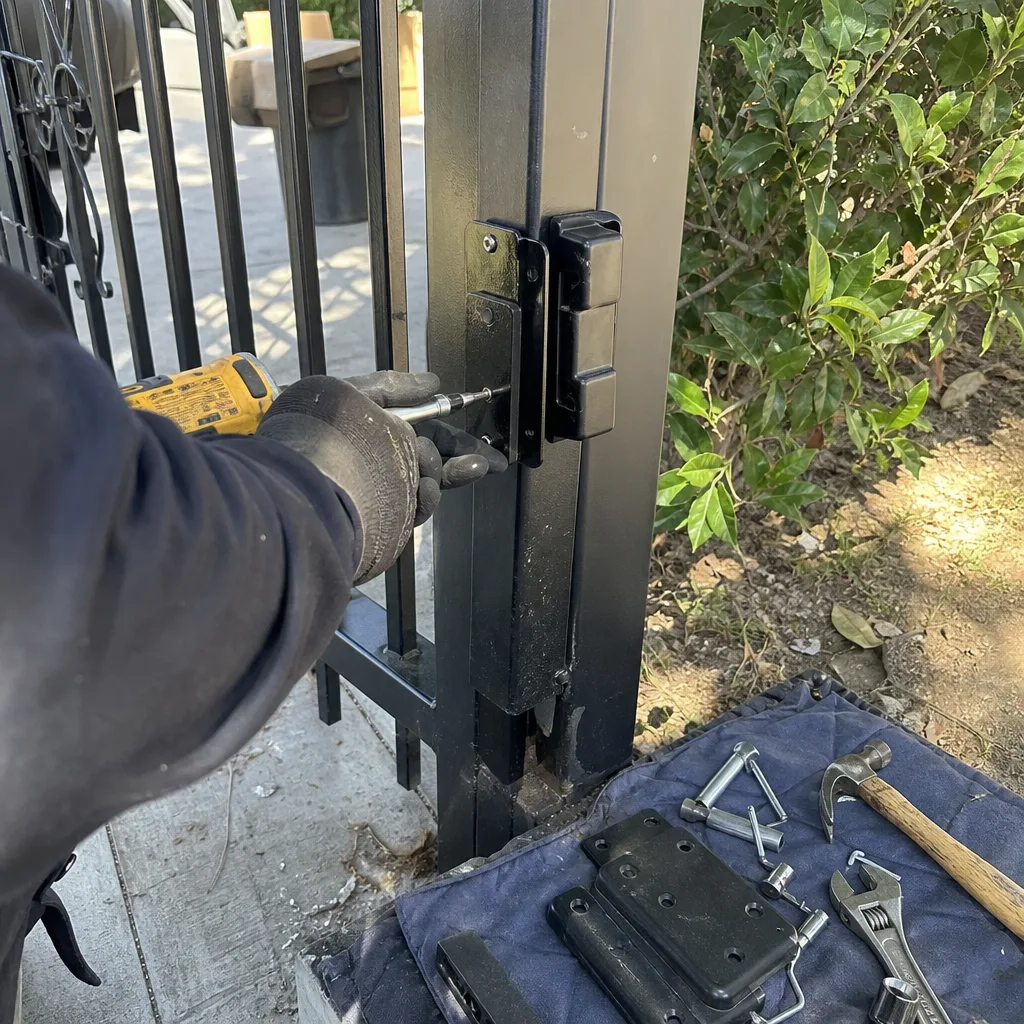
- The Legal Line: What California Allows a Homeowner to Do
- UL 325 and the Liability Boundary Most Guides Skip
- Task-by-Task: Homeowner Territory vs. Technician Territory
- Documentation: What to Save When You Do It Yourself
- The Real Cost Comparison: DIY Parts vs. Professional Repair
- The Hidden Cost of a Misdiagnosis
- Tarzana-Specific Factors: Climate, Gate Types, and Market Realities
- Common Mistakes to Avoid
BeforeAfterThe Legal Line: What California Allows a Homeowner to Do
California Contractors State License Board rules draw a hard line that most gate-repair content never mentions. A homeowner can perform maintenance and repairs on their own property without a contractor’s license, provided the work doesn’t require a building permit and doesn’t involve certain regulated systems. For gates specifically, that means lubrication, hinge tightening, wheel track cleaning, photo-eye lens wiping, battery replacement in the remote, and similar non-structural, non-electrical tasks are yours to do. The moment the work involves line-voltage wiring, control board replacement, or motor disassembly, you’ve crossed into territory that California code reserves for a C-10 electrical contractor or a C-61 limited-specialty contractor with the appropriate classification.
This isn’t a technicality. In Tarzana, where most homes built between 1950 and 1980 have had gates added later, the electrical runs are often non-permitted additions from previous owners. That means the wiring may not meet current code. If you open that box and modify anything, you’ve now touched a system that was already out of compliance. The liability question isn’t academic. If an incident occurs, a premises liability attorney will ask exactly one question about the gate: “Who last worked on it?” If the answer is “the homeowner,” you’ve become the de facto installer of record for whatever state that system was in.
The practical rule we operate by at Vance Gate Repair Tarzana home is this: if the repair involves anything downstream of the plug, meaning anything inside the motor housing, the control board enclosure, or the limit-switch assembly, it’s technician territory. If it’s upstream of the plug, meaning hinges, wheels, track, physical gate alignment, and surface cleaning, it’s homeowner territory. That’s the line. It’s not about intelligence. It’s about code compliance and the documentation that follows an incident.
UL 325 and the Liability Boundary Most Guides Skip
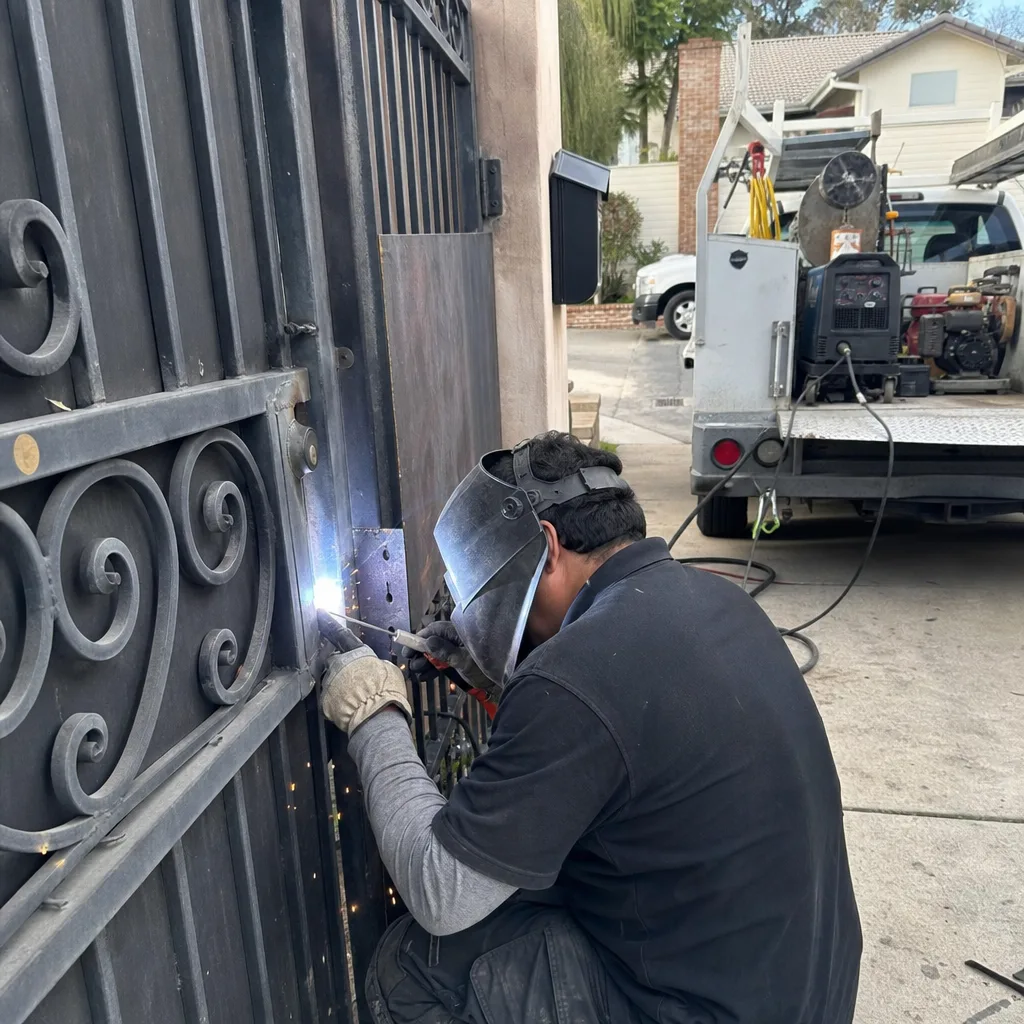
UL 325 is the safety standard published by Underwriters Laboratories that governs automatic gate operators. Since March 2000, every powered gate in the United States is required to have entrapment protection: either a photo-eye that detects an obstruction in the gate’s path, or a contact sensor that reverses the gate when it touches something, or both, depending on the gate type and installation date. Here’s what most DIY guides won’t tell you: the standard requires that this protection be functional and correctly calibrated at all times, and the manufacturer’s installation manual is legally considered part of the standard. If you adjust the obstruction-detection sensitivity yourself, using a screwdriver on the control board, and you set it wrong, you’ve altered a safety device from its compliant state.
Why does this matter for a Tarzana homeowner? Because California is a comparative-negligence state with an active premises liability bar. If a gate malfunction injures a visitor, a delivery driver, a child, or even a trespasser, the question becomes whether the property owner maintained the gate in a reasonably safe condition. Courts and insurance adjusters look at three things: the age and maintenance history of the gate, whether entrapment protection was working, and who last modified the system. A homeowner who changed a sensitivity setting without documenting the before-and-after state has effectively erased the compliance record. That’s not a hypothetical. We’ve worked on gates in the hills south of Ventura Boulevard where a previous owner had twisted the sensitivity potentiometer to maximum to keep the gate from reversing on a sagging track. That gate was a sitting liability.
The compliance obligation under UL 325 is why professional gate repair exists as a licensed trade. A professional carries the insurance, the written record, and the manufacturer-certified training to set and document those adjustments. When Gate Repair in Tarzana is performed by a licensed contractor, the work product includes a written record of every setting changed and every part replaced. That record is the only thing standing between you and a very expensive deposition if the gate is ever involved in an incident.
Task-by-Task: Homeowner Territory vs. Technician Territory
Here’s a concrete breakdown. This isn’t a list of what’s “hard” versus “easy.” It’s a list of what’s legally and practically safe to do yourself versus what creates an obligation you don’t want to carry. In our experience, the jobs that look simplest are often the ones where homeowners get into the most trouble.
Homeowner Territory: Mechanical and Surface-Level Tasks
- Lubricating hinges and gate wheels. A can of white lithium grease, a rag, and ten minutes. This is maintenance, not repair. Do it every six months in Tarzana’s dry summers, when metal-on-metal wear accelerates.
- Tightening loose bolts on the gate frame and hinge brackets. Use a socket wrench. Check the manufacturer’s torque specs if available, but snug-plus-a-quarter-turn is fine for most residential gates.
- Cleaning photo-eye lenses. A dry microfiber cloth. Dirt, spider webs, and Tarzana’s summer dust are the most common cause of “the gate won’t close” calls we get. Wipe the lens, not the housing.
- Checking battery voltage on the operator’s backup battery. If your gate has a backup battery (most newer LiftMaster and FAAC models do), a multimeter set to DC voltage tells you if it’s holding charge. Below 11.8 volts on a 12-volt battery means replacement is due.
- Clearing the track of debris. Gravel, leaves, palm fronds. A stiff brush and a shop vacuum. This is the gate equivalent of cleaning gutters.
Technician Territory: Electrical, Motor, and Safety-System Work
- Replacing a control board. This involves matching the board to the operator’s revision, transferring all wiring to the correct terminals, setting DIP switches and potentiometers to factory specs, and re-testing entrapment protection. One misplaced wire on a LiftMaster LA400 or a FAAC 391 board can create a dead short.
- Recalibrating limit switches. Limit switches tell the motor where the gate stops. Setting them wrong means the gate either slams into the end stop or stops six inches short of closed. Both states are either damaging or dangerous. This is a technician task, full stop.
- Adjusting obstruction-detection sensitivity. This is the UL 325 liability task described above. It requires a force gauge to measure the actual closing force in pounds, which is the only way to verify compliance. A screwdriver and a guess is not a calibration.
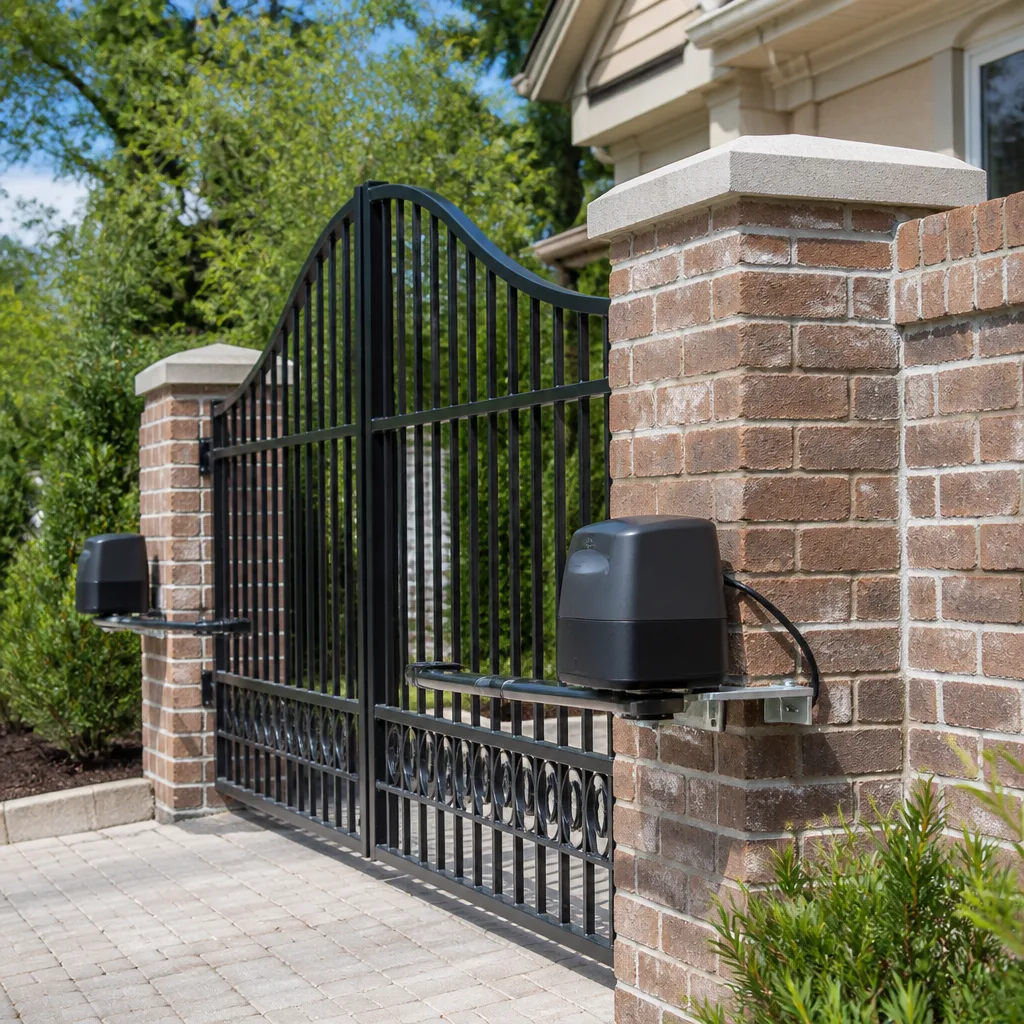
- Replacing a motor or gearbox. On a swing gate, this is a two-person job involving the removal of the operator arm under spring tension. On a slide gate, it involves chain alignment and tensioning. Both require re-tuning the entire system after installation.
- Touching any line-voltage wiring. If the wire is thick, covered in conduit, and runs back to a breaker, it’s not yours. A C-10 electrical contractor or a C-61 with the proper classification is the legal minimum.
The reason for each classification is the same: compliance and documentation. The homeowner tasks don’t alter the safety system. The technician tasks do. Once altered, the system needs to be verified against a standard, and that verification needs to be written down.
Documentation: What to Save When You Do It Yourself
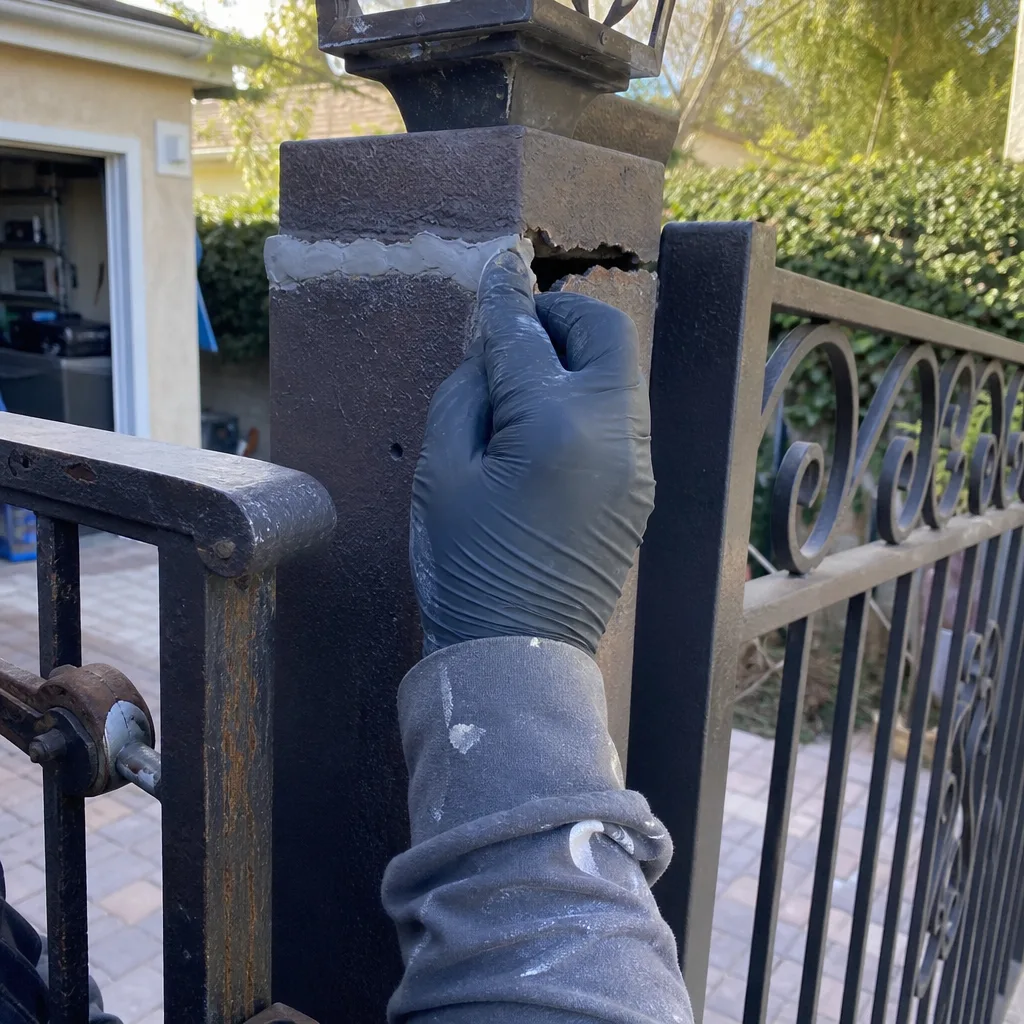
If you perform an allowed DIY task, save the record. This isn’t about being organized. It’s about creating the paper trail that protects you if the gate is later involved in an incident. Here’s what to capture, every time:
- A before photo and an after photo. Phone camera is fine. Show the part you touched: the hinge you tightened, the lens you cleaned, the battery you tested. Date-stamp the file name.
- The exact product you used. Write down the brand and product name of the lubricant, the battery replacement model, the torque spec you followed. If a question ever comes up, “I don’t remember what I used” is the worst possible answer.
- The date and a one-line note. “February 14, 2026: cleaned RE-1 photo-eye lenses on north gate. Wiped with dry microfiber. Photo attached.” Ten seconds now saves you a deposition later.
- Any measurement you took. Battery voltage, track gap, hinge play. Numbers are the only thing that can be compared later.
This is the same documentation habit that Adrian Vance developed on commercial access-control sites starting in 2014, and it’s now baked into every residential visit under Gate Installation in Tarzana and repair work. Under Clause 4 of the Haven Standard, every professional visit includes a documented photo record at no additional charge. The homeowner version is the same principle applied with a phone camera. If you keep the record, you keep the ability to prove what the gate’s condition was on the date you touched it.
The Real Cost Comparison: DIY Parts vs. Professional Repair
Here’s what a DIY gate repair actually costs in Tarzana versus a professional repair, using current market prices for the most common parts. The parts numbers are real, the price ranges reflect what we see in the San Fernando Valley market, and the labor figures assume a licensed contractor at current 2026 rates.
| Repair Task | DIY Cost (Parts Only) | Professional Cost (Parts + Labor) | What the Professional Cost Includes |
|---|---|---|---|
| Lubricate hinges and track | $12-$25 (lubricant, rag) | $85-$150 | Lubrication, torque check on all fasteners, photo record |
| Replace remote battery | $4-$8 per remote | $0 with any service visit | Often included as courtesy; new battery tested |
| Replace photo-eye unit | $45-$120 (part, if you can source it) | $180-$340 | Part, alignment, sensitivity verification, UL 325 compliance check |
| Replace swing-gate motor | $350-$700 (motor only) | $1,100-$2,400 | Motor, bracket assessment, limit setup, force calibration, documentation |
| Replace control board | $150-$400 (board only, if correctly diagnosed) | $450-$950 | Board, wiring transfer, DIP switch configuration, full system test |
| Replace slide-gate chain | $60-$180 (chain only) | $350-$700 | Chain, tensioning, alignment, wear inspection of sprockets |
The parts-only column looks tempting until you factor in the second column you’re not seeing: the cost of the part you bought because you misdiagnosed the problem. Which is the subject of the next section.
The Hidden Cost of a Misdiagnosis
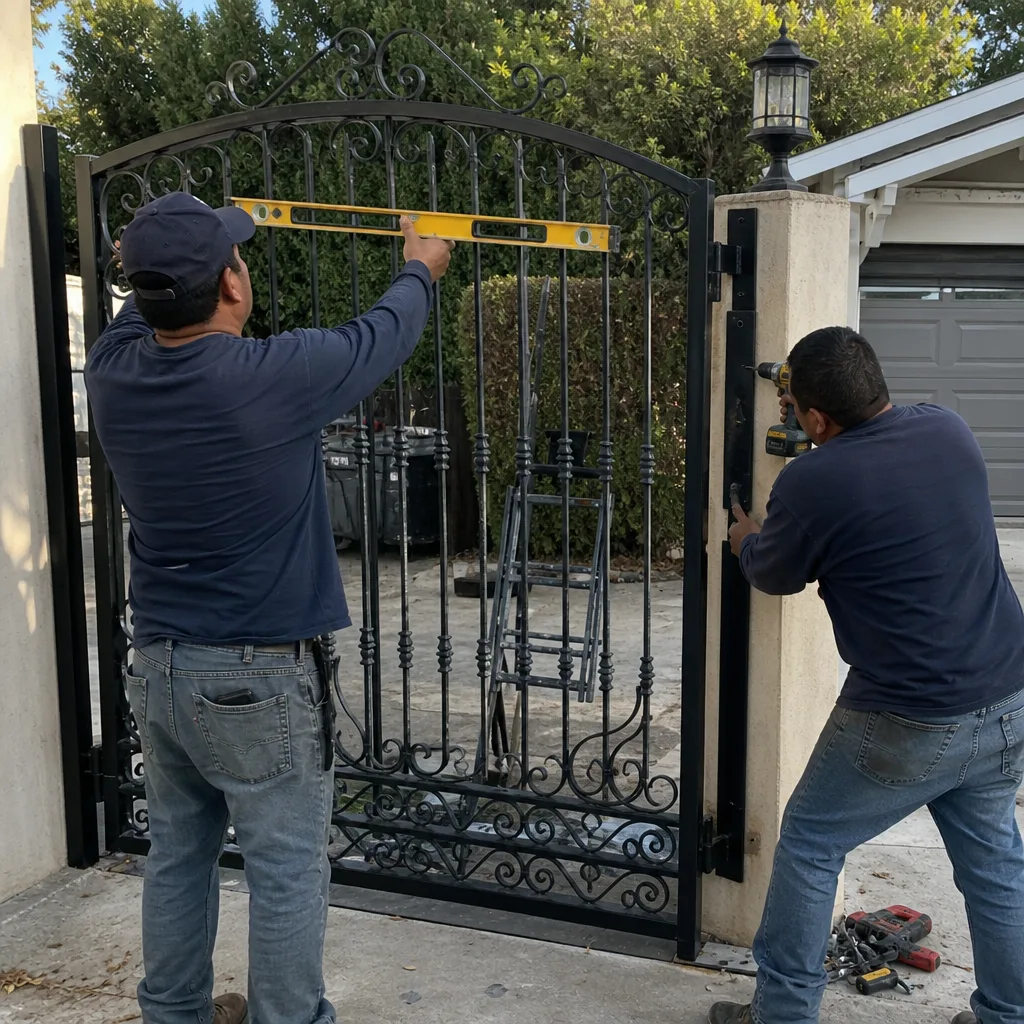
The most expensive DIY gate repair we see in Tarzana is the one where the homeowner bought the right part for the wrong problem. Gate operators are systems, not assemblies. A symptom like “the gate opens halfway and stops” can be caused by any of the following: a failing limit switch, a bad control board, a worn gearbox, a slipping chain, a photo-eye that’s intermittently tripping, or a battery that’s no longer holding charge under load. Five different causes, one symptom. If you buy a new limit switch for $85 and the problem was actually a control board, you’ve now spent $85 on a part you can’t return once installed, plus the cost of the actual repair. Swap the diagnosis, and you’re out $400 for a board when the photo-eye needed a $45 replacement.
The professional cost structure accounts for this. When Gate Motor & Opener in Tarzana work is performed by a technician, the diagnostic step is part of the service. The written price you receive before any work starts is based on a diagnosis, not a guess. If the diagnosis is wrong, the 365-Day Done Right Promise means the correction is made at no additional charge within one full year. That’s the structural difference. A DIY misdiagnosis is a sunk cost with no recovery path. A professional misdiagnosis is the contractor’s problem to fix.
We see this pattern about twice a month in Tarzana. A homeowner has watched a YouTube video, bought a part on Amazon, replaced it, and the gate still doesn’t work. The part sits in a box on the shelf. The gate still won’t close. And the clock is ticking on the original problem getting worse. The most expensive part in gate repair is the one that didn’t fix anything.
Tarzana-Specific Factors: Climate, Gate Types, and Market Realities
Tarzana’s climate does specific things to gate hardware. The summer heat, routinely above 95 degrees from June through September, bakes the plastic housings on LiftMaster and Linear operators parked in direct sun on south-facing driveways. The dry air accelerates hinge wear. The winter rains, when they come, wash silt into slide-gate tracks along the flat streets north of Ventura Boulevard. And the Santa Ana winds in the fall dump dry leaves and palm debris into every mechanical opening on the property.
The gate stock in Tarzana is older than in most of the Valley. Many homes built in the 1960s and 1970s had gates added in the 1990s and early 2000s, which means we’re now seeing the second or third control board replacement on gates that are still mechanically sound. The operators on these gates are often FAAC swing arms, BFT underground motors, or first-generation LiftMaster slide operators. Parts for all three brands are still available, but the boards have gone through multiple revisions, and matching the correct revision to the correct operator takes familiarity with the manufacturer’s documentation.
What this means for the DIY question is simple: a 25-year-old FAAC operator in Tarzana is not the same animal as the BFT in a YouTube video filmed in Florida. The climate is different, the installation history is different, and the part revision on your board may not be the one in the tutorial. In our experience, the gates that get into the most mechanical trouble in Tarzana are the ones where a previous owner did a board swap using a part number that was close but not correct. Close is not compliance.
Common Mistakes to Avoid
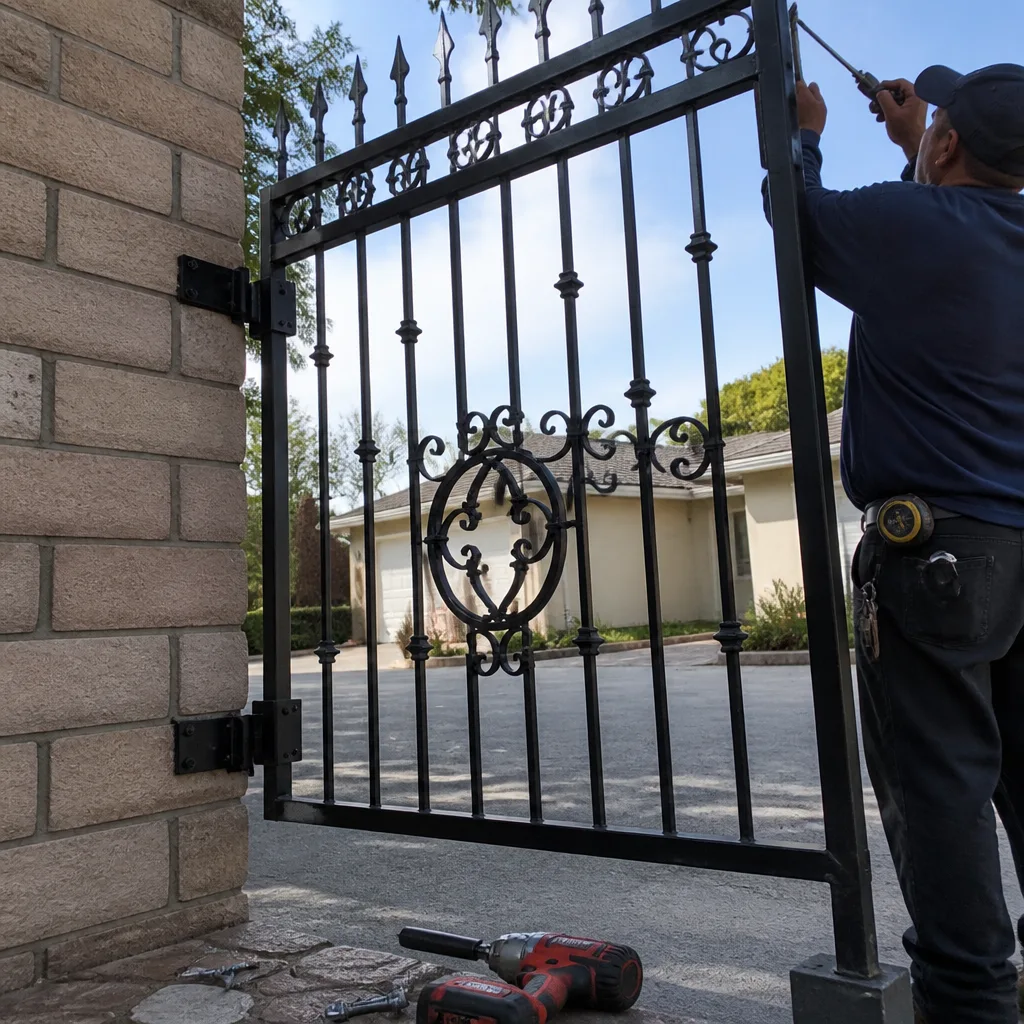
- Adjusting the sensitivity dial without a force gauge. You can’t feel the difference between 15 pounds of closing force and 40 pounds. UL 325 sets a maximum. A force gauge is the only way to measure it. Twisting the dial is a modification without a measurement.
- Buying a replacement board before confirming the operator’s revision. LiftMaster, FAAC, and BFT all issued multiple board revisions. The connector layout changed between revisions. A board from eBay that “looks right” often isn’t.
- Opening the control box without photographing the wiring first. The photo doesn’t help you rewire it correctly. It helps the technician who comes after you understand what you changed. Take the photo before you remove a single wire.
- Ignoring the manual’s requirement for entrapment-protection testing after any modification. Section R in the UL 325-compliant manual spells out the test procedure: place a test object at the gate’s closing edge and verify reversal. Skipping this test means the gate is not compliant.
- Tightening bolts on a sagging gate without fixing the sag. A gate that’s dropped out of square puts force on the hinges that no amount of bolt-tightening will correct. The hinges keep loosening because the geometry is wrong, not because the bolts are loose.
- Using WD-40 on gate hinges. WD-40 is a water displacer, not a lubricant. It washes out the remaining grease and accelerates wear. Use white lithium grease or a silicone-based lubricant.
- Replacing the motor when the problem is the capacitor. A start capacitor failure on a swing-gate motor is a $20 part. A new motor is $400. The capacitor is the first thing to test when the motor hums but doesn’t move.
When to Call a Professional
Call a professional when the gate makes a noise it didn’t make before, when the safety beam fails to reverse the gate during a test, when the gate moves unevenly or stops at the wrong position, or when you’ve opened the control box and realized you don’t recognize what you’re looking at. Also call if the gate is more than 15 years old and has never had a professional inspection. Tarzana gates of that vintage are running on borrowed time. Vance Gate Repair Tarzana offers free estimates throughout Tarzana, with a written price delivered before any work begins and a documented photo record left behind on every visit. Call (424) 258-8818 to schedule. A live person answers, 24 hours a day, every day of the year.
Frequently Asked Questions
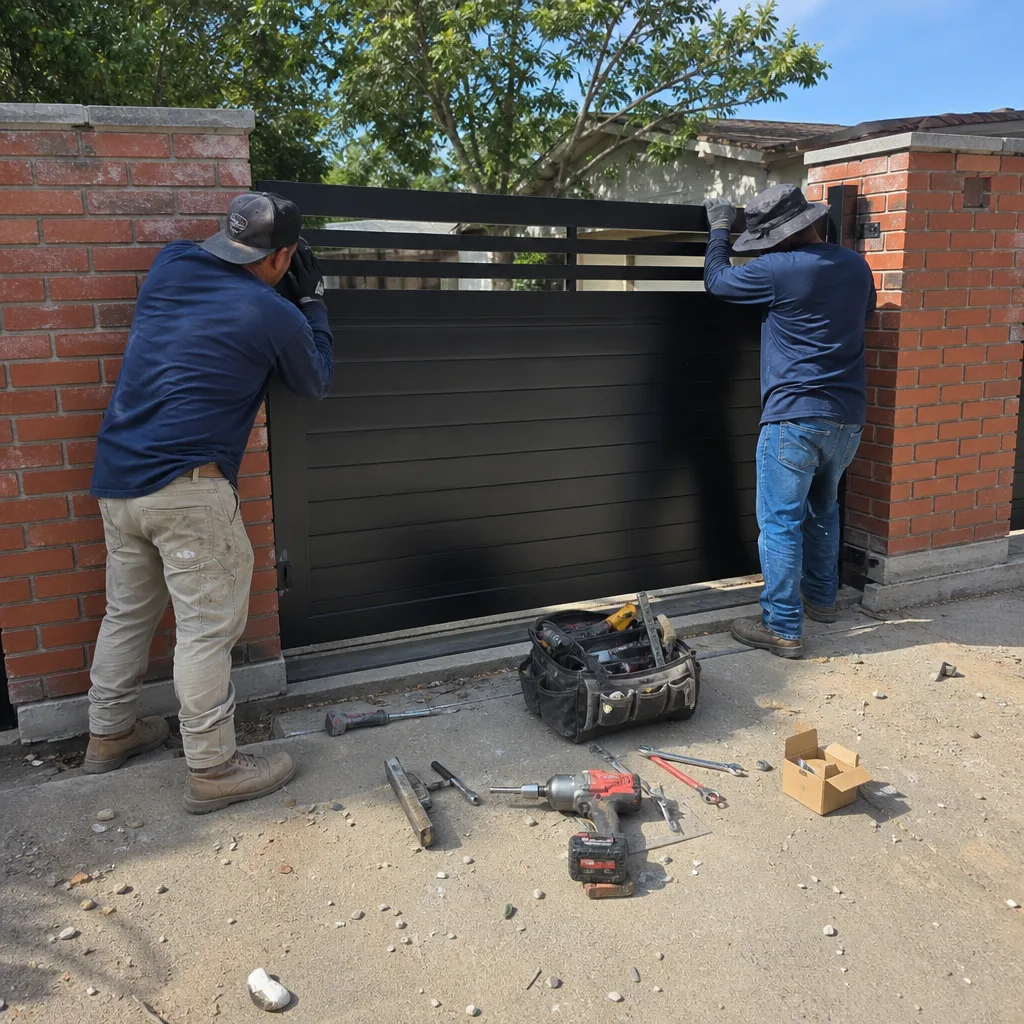
Yes, for mechanical maintenance tasks like lubricating hinges, tightening bolts, and cleaning photo-eyes, you can legally repair your own gate in Tarzana as a homeowner. For electrical work, motor replacement, control board work, or limit-switch calibration, California Code of Regulations and CSLB rules require a C-10 electrical contractor or a C-61 limited-specialty contractor with the proper classification. Call (424) 258-8818 for a free estimate if you’re unsure where your repair falls.
The most common DIY gate repair mistake we see is adjusting the obstruction-detection sensitivity without a force gauge, which creates a UL 325 compliance violation and a documented liability exposure. The second most common is buying a control board that doesn’t match the operator’s revision, which leaves the homeowner with an unreturnable part and the original problem still present. If the gate is acting differently after a DIY adjustment, call (424) 258-8818 and we’ll document what was changed and correct it.
Most gate repairs in Tarzana run between $180 and $950 depending on the failed component, with photo-eye replacements at the low end and control board replacements at the high end. A full motor replacement typically runs $1,100 to $2,400 including calibration and documentation. Vance Gate Repair Tarzana writes the price before any work starts, so you’ll know the exact number before we touch the gate. Call (424) 258-8818 for a free estimate.
Homeowner’s insurance typically does not cover wear-and-tear gate repair, but it does come into play if the gate causes an injury or property damage, which is why UL 325 compliance and documentation of who performed the repair matter so much in Tarzana. An insurance adjuster investigating a gate-related claim will ask whether entrapment protection was functional and who last modified the system. Written records from a licensed contractor are the best answer to that question.
UL 325 is the federal safety standard that requires every powered gate in the United States to have functioning entrapment protection, either a photo-eye, a contact sensor, or both, depending on the gate type and installation date. The standard applies to residential gates in Tarzana just as it applies to commercial gates. Any modification to the safety system, including sensitivity adjustments, requires that the gate be re-tested and verified compliant after the work.
Most residential gate repairs in Tarzana take between 45 minutes and two hours on site, depending on the component and whether parts are on the truck. A live person answers the phone 24/7, and we’ll tell you the expected timeframe when you call. Vance Gate Repair Tarzana provides a written price before any work starts, so the timeline and the cost are both confirmed in advance. Call (424) 258-8818 to schedule.
The Bottom Line
The DIY versus professional decision for gate repair in Tarzana isn’t a question of mechanical aptitude. It’s a question of liability and documentation. You can lubricate, tighten, clean, and test without crossing any legal or safety line. The moment a repair involves the motor, the control board, the limit switches, or the entrapment-protection system, you’re modifying a safety device governed by UL 325, and that modification needs to be measured, calibrated, and documented by someone with the license and the force gauge to do it. The smartest Tarzana homeowners do the maintenance and leave the modification to a professional-find more guides & resources on our blog. The written price before work starts, the photographed record left behind, and the one-year guarantee mean you’re never paying twice for the same problem. That’s how it should work.
Written by Adrian Vance, Owner at Vance Gate Repair Tarzana, serving Tarzana since 2014.