
Last updated September 20, 2026
Free on-site gate assessment - hinges, posts, and your LiftMaster or Nice gate operator checked before anything is quoted
The assessment is free and the quote is the invoice.


 Before
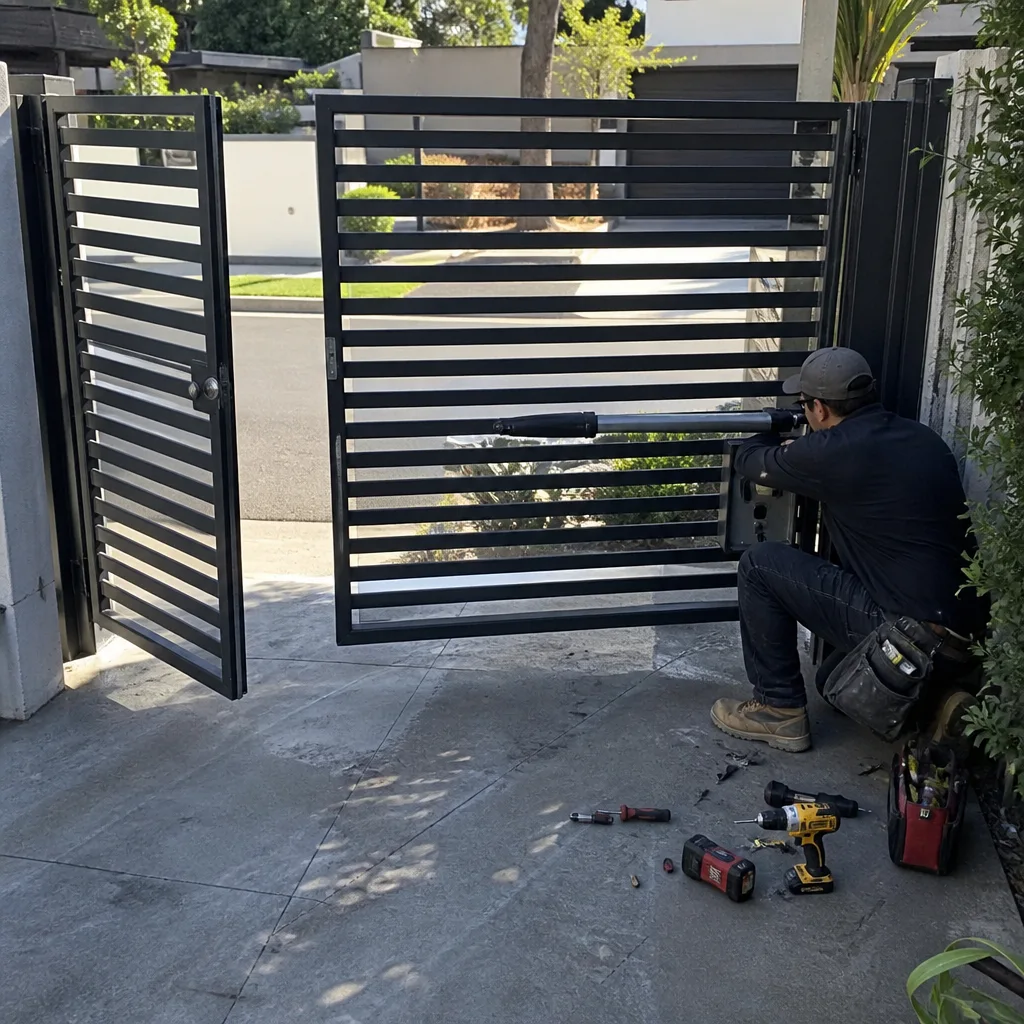 After
After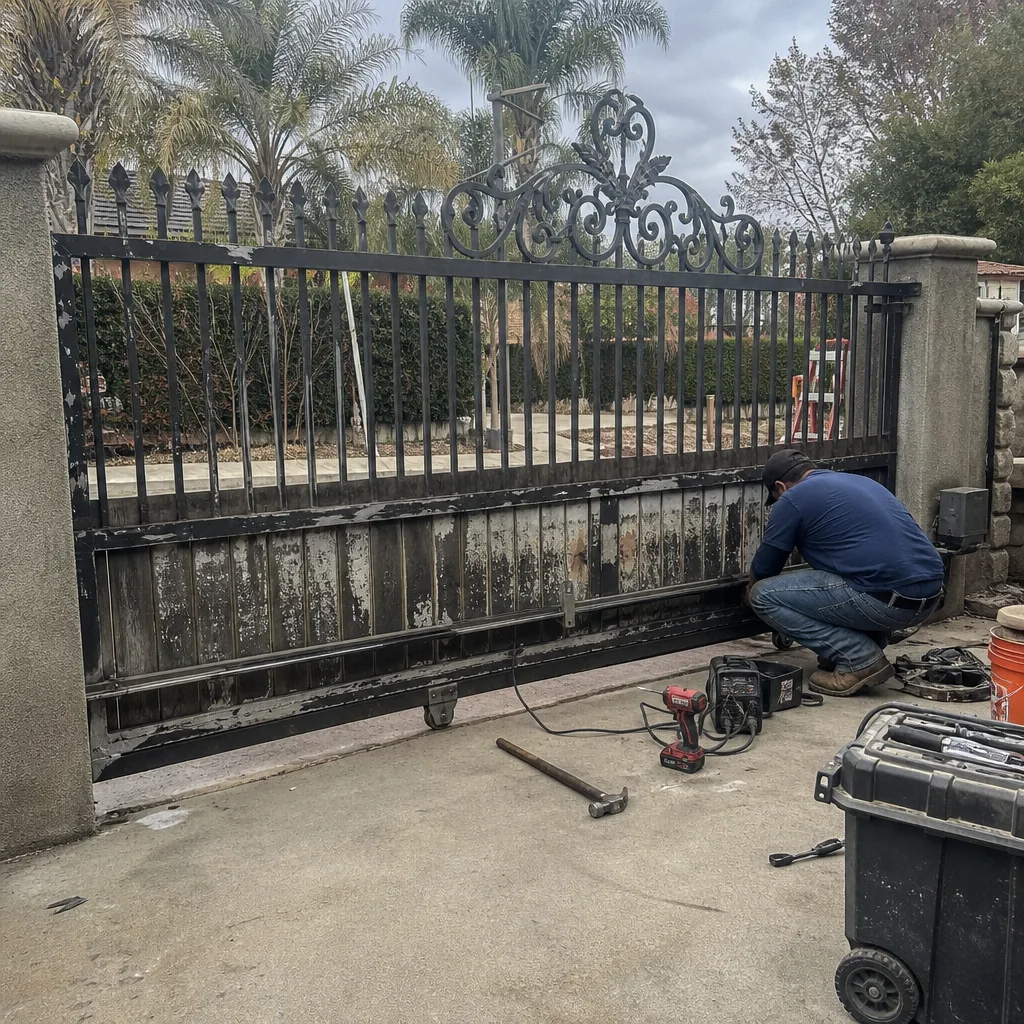 Before
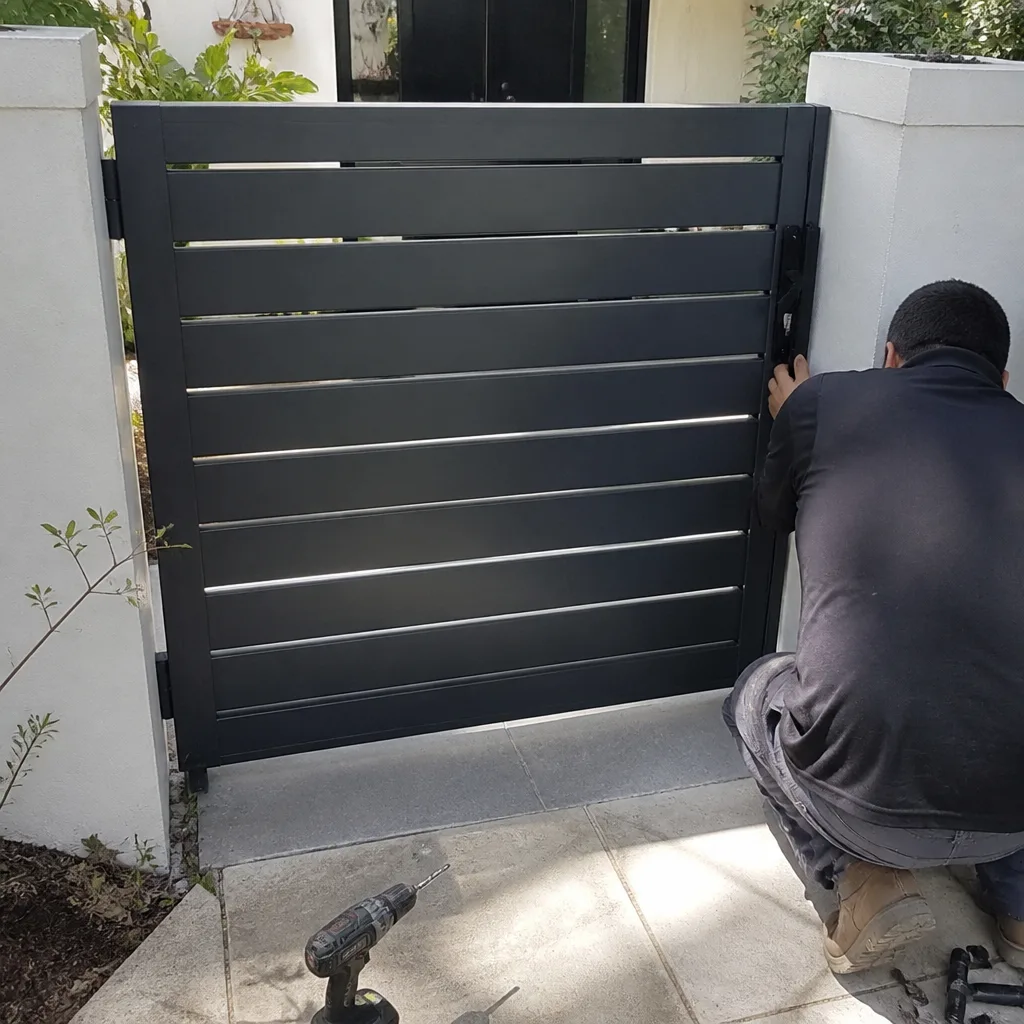 After
After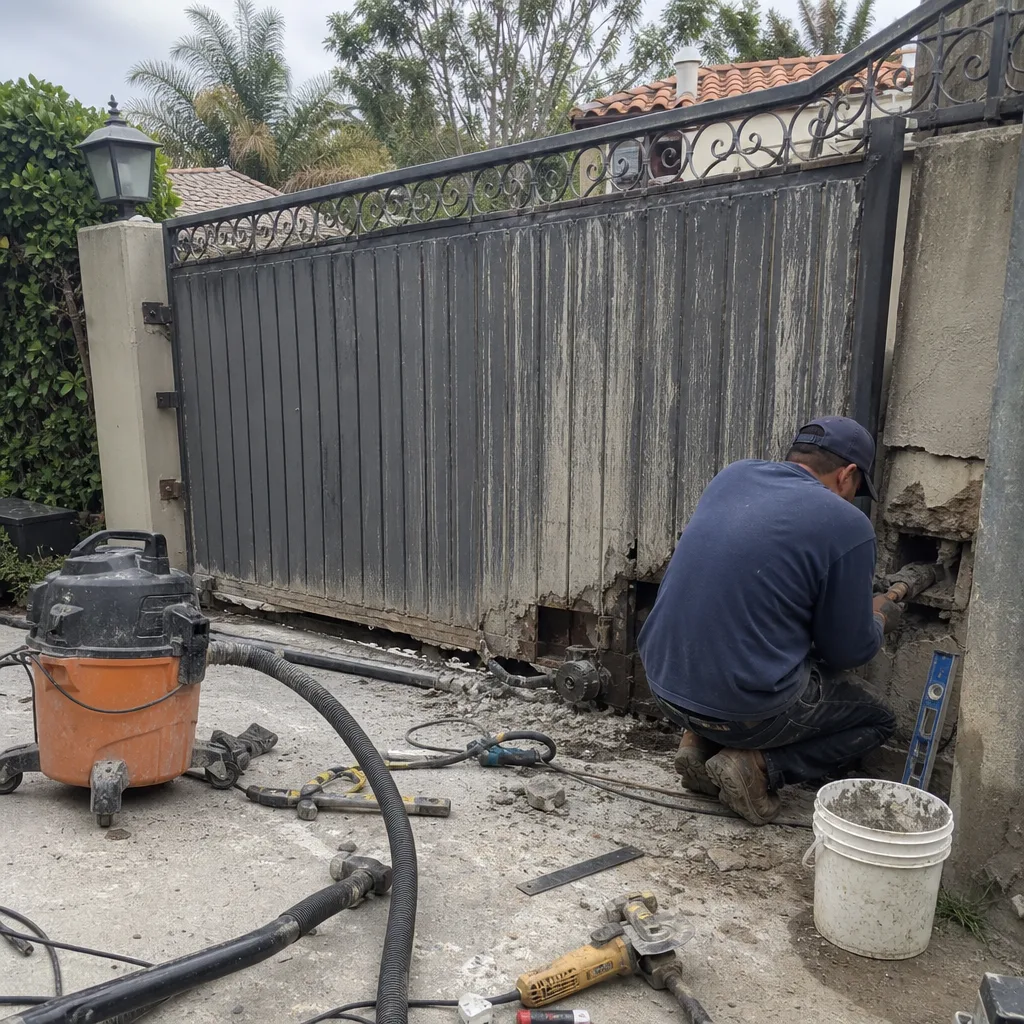 Before
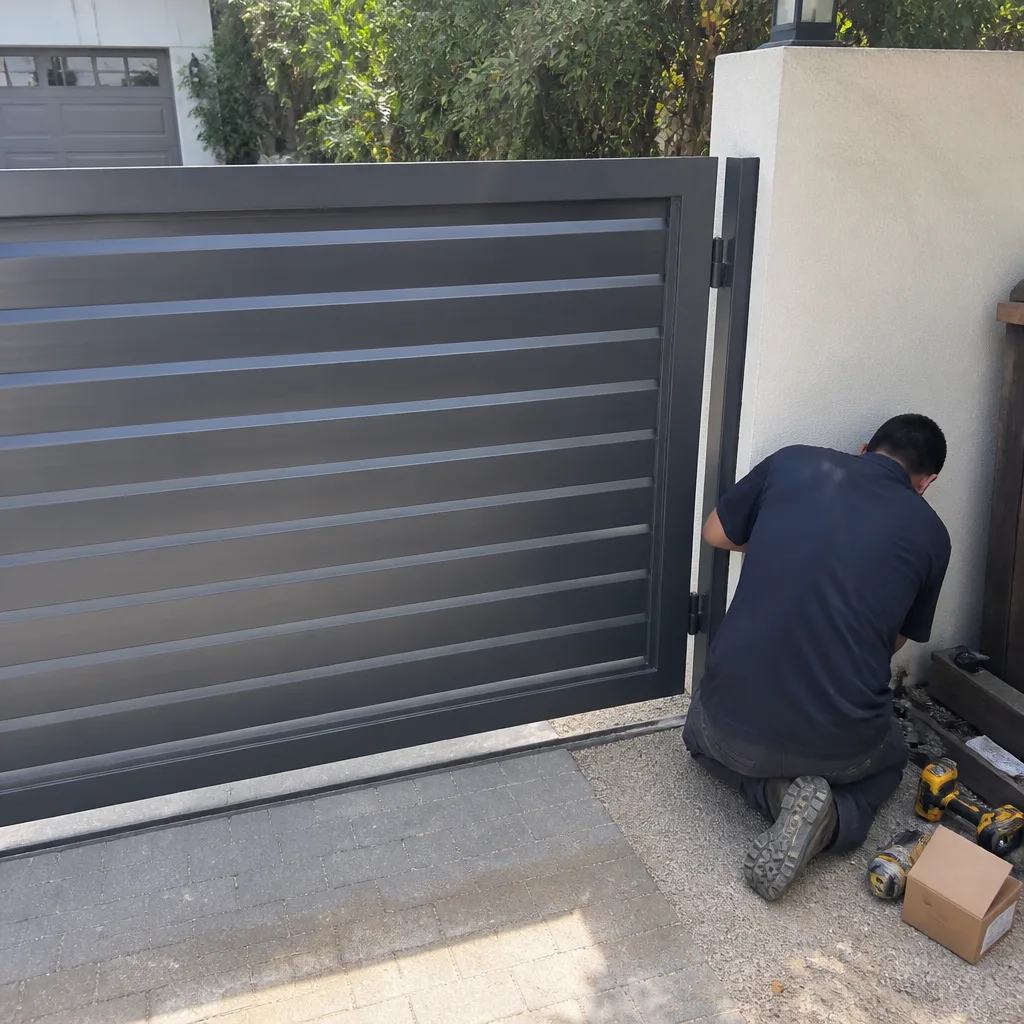 After
AfterGate Repair Maintenance Checklist for Tarzana Homeowners
Most printed maintenance checklists tell you to “inspect the gate opener.” Inspect it for what? Without a baseline reading, motor amp draw, limit-switch position, battery voltage on the backup, an inspection is just a look. The gate still opens and closes today, so it passes. Six months later you’re standing in the driveway at 7 a.m. with a gate that won’t budge and a repair bill that could have been a $40 part if someone had caught it early. This checklist gives you the numbers. Every item includes a measurable threshold, a passing range, and a specific reading to record, so you can tell the difference between a gate that will run another year and one that’s three months from a board failure. We built it for Tarzana homeowners because our climate, our wind season, and the way our gates get used every single day create failure patterns that generic checklists never mention.
Quick Answer
A Tarzana gate maintenance checklist should cover five measurable systems: hinge and rack alignment (no more than 1/4 inch of sag), motor amp draw (check against the manufacturer’s plate rating), limit-switch cycle counts, backup battery voltage (24V systems should read between 25.2V and 27.6V at rest), and photo-eye alignment. Run the full checklist twice a year, once in October after summer heat and once in late fall after Santa Ana wind season. Most homeowners can complete the visual items in under 20 minutes; electrical readings require a multimeter and are worth a technician visit once a year.
Table of Contents
- Baseline Readings: The Numbers That Matter
- The 20-Minute Check: What a Homeowner Can Do
- Electrical Measurements: What Requires a Multimeter
- Tarzana Timing: Two Non-Negotiable Inspection Windows
- Photographing Your Gate: The Before-Record That Protects You
- Reading Your Limit Switches: What a Healthy Cycle Count Looks Like
- Backup Battery Voltage: The Reading That Prevents Board Failures
- Using the Checklist as a Pre-Call Document
- Common Mistakes to Avoid
- When to Call a Professional
- Frequently Asked Questions
- The Bottom Line
BeforeAfterBaseline Readings: The Numbers That Matter
Every gate has a personality. More precisely, every gate has a set of baseline readings, numbers that describe how the motor, the battery, the switches, and the hinges are behaving when everything is working correctly. You can’t spot a problem if you don’t know what normal looks like. A motor that draws 4.2 amps today might have drawn 3.1 amps when it was installed. Both numbers might fall within the manufacturer’s “acceptable” range, but the upward trend is the early warning that a capacitor is failing or a gear is binding. That’s the information a generic checklist never captures.
Here’s what to record on your first pass. Write these down somewhere permanent. Tape them inside the control box. Photograph the page and keep it in your phone. The next time anything feels off, you’ll have a comparison point instead of a guess.
- Motor amp draw at full travel: Recorded with a clamp meter while the gate opens and closes. Note both directions separately.
- Backup battery resting voltage: Measured with the gate unplugged or on battery mode for five minutes.
- Limit-switch cycle count: Read from the control board display or the motor’s diagnostic menu.
- Gate sag at the latch post: Measured with a tape measure from the ground to the top rail at the latch side.
- Photo-eye alignment: Confirmed by blocking the beam and observing the reversal response time.
- Chain or belt tension: Measured in deflection at the midpoint of the run. More than 3/4 inch of slack in a chain drive is a red flag.
- Hinge wear: Lift the gate slightly at the free end. More than 1/8 inch of vertical movement means the hinge pins are wearing.
If you don’t have baseline readings yet, that’s the first maintenance task. Not “clean the track” or “check the wheels.” Get the numbers. Everything else follows from them. We’ve repaired gates in Tarzana where the only diagnostic clue was a motor drawing 1.2 amps over its original draw, a reading we only spotted because the previous technician happened to log it. Without that record, we’d have been guessing too.
The 20-Minute Check: What a Homeowner Can Do
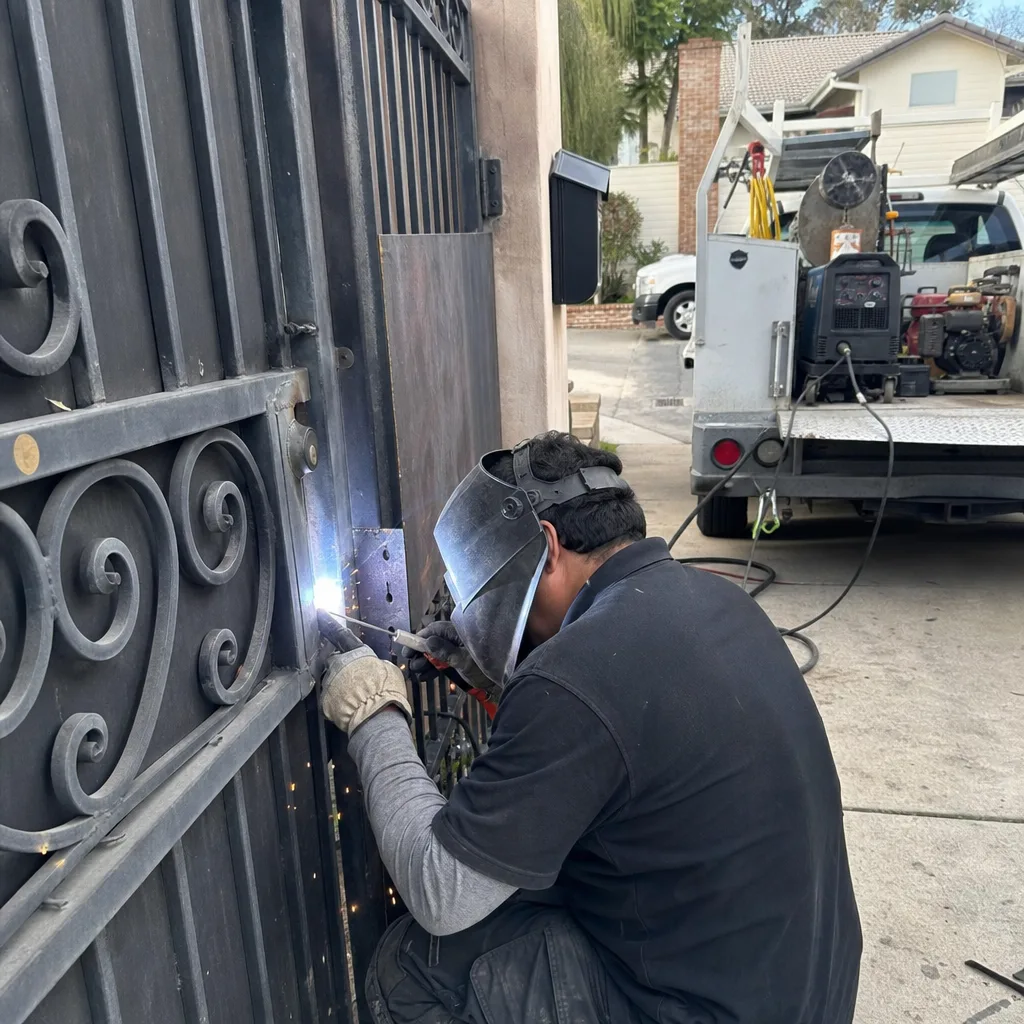
Not every maintenance task requires a technician. In our experience, about 60% of Tarzana gate failures that show up as emergency calls could have been caught with a 20-minute visual and mechanical check performed twice a year. This section is the one you can do with no special tools beyond a tape measure, a flashlight, and your phone camera. Do it now, do it in October, and do it again in late fall after the Santa Anas have finished beating on your gate.
Step 1: Walk the Gate Through a Full Cycle
Stand at the hinge post and watch the gate open fully, close fully, and cycle through any automatic close delay. Listen for changes in pitch. A motor that sounds different in one direction than the other is telling you something. Watch for hesitation at the start of travel, which often indicates a failing start capacitor. Note any point in the travel where the gate’s speed changes.
Step 2: Check the Gate Itself
- Measure the gap between the gate and the latch post. If it has grown by more than 1/4 inch since your baseline reading, the hinges are wearing or the post is moving.
- Look at the ground clearance. Tarzana’s clay-heavy soil expands and contracts with moisture. A gate that dragged in February might clear in July, but the drag marks on the concrete tell you the hinge brackets are sagging.
- Inspect each hinge for rust, especially at the weld points. Surface rust is cosmetic; flaking or pitting is structural.
- Push the gate laterally at the free end. Movement you can feel in the hinge pins is acceptable up to 1/8 inch. More than that means the hinge bearing surfaces are worn through.
Step 3: Check the Track and Wheels
For sliding gates, sweep the track with a stiff brush. Tarzana’s wind deposits fine dust and leaf debris into the track groove, and that grit acts like sandpaper on the wheel bearings. Check each wheel for flat spots, which indicate a bearing that seized and skidded. Check the guide rollers for side-to-side play.
Step 4: Check the Safety Devices
The photo-eye, that small infrared beam near the base of the gate, is the single most common false-trigger cause we see in Tarzana. Morning sun angle from the east can wash out the beam. Spider webs in the lens housing can do the same. Block the beam with your hand while the gate is closing. It should reverse within two seconds. If it doesn’t, or if the gate reverses when nothing is blocking the beam, call that in now.
If you complete these four steps and write down what you measured, you’ve done more than most homeowners ever do. The whole thing takes 20 minutes. The Gate Repair in Tarzana crew at Vance Gate Repair uses this same visual sequence as the first pass on every service call, before we even open the control box. For a deeper look at what a full service call covers, see our Gate Repair in Tarzana page.
Electrical Measurements: What Requires a Multimeter
The visual check catches mechanical failures. It will not catch electrical failures. A board that is slowly cooking because a backup battery has failed will look perfectly normal from the outside until the day the gate won’t open. This is the section where honesty matters: measuring amp draw, checking battery voltage under load, and reading limit-switch diagnostics requires a multimeter and a basic understanding of low-voltage DC circuits. If that’s not you, skip to the “When to Call a Professional” section and have a technician do this once a year. If you own a multimeter and know how to use it, here are the specific readings to take.
Motor Amp Draw
Clamp the meter around one of the DC motor leads while the gate runs a full open cycle, then a full close cycle. Record both readings. Compare them to the motor’s nameplate rating, which is printed on the motor housing or in the installation manual. A healthy motor draws 10-20% below the nameplate full-load amps. A motor drawing at or above nameplate amps is working too hard, and that resistance is coming from somewhere: a binding hinge, a failing gearbox, a misaligned rack, or a failing motor bearing. The number alone doesn’t tell you which, but the trend upward over months tells you something is degrading.
Battery Resting Voltage
Unplug the motor from AC power or switch to battery mode. Let the system sit for five minutes. Measure the DC voltage across the battery terminals. For the 24V backup batteries common on LiftMaster, FAAC, and BFT operators in Tarzana installations, a healthy battery reads between 25.2V and 27.6V at rest. Below 24.8V indicates a battery that’s beginning to fail. Below 24.0V means the battery is no longer holding a charge, and the charger circuit is working overtime trying to maintain it. That continuous charging cycle generates heat, and heat kills control boards. This is the single most preventable cause of board failure we see, and it’s entirely invisible without a meter.
Charger Output
With AC power restored, measure the DC output at the charger terminals. It should read between 27.2V and 28.4V for a 24V system. A charger that reads below 27V is undercharging the battery, which shortens battery life. A charger that reads above 29V is overcharging, which cooks the battery and eventually the board.
If any of these readings are outside the ranges listed, call a technician. Don’t adjust anything yourself. The specific brand matters here: a FAAC board responds differently to low voltage than a LiftMaster board does, and a wrong adjustment can turn a $150 battery replacement into a $600 board replacement. For motor-specific guidance, see our Gate Motor & Opener in Tarzana page.
Tarzana Timing: Two Non-Negotiable Inspection Windows
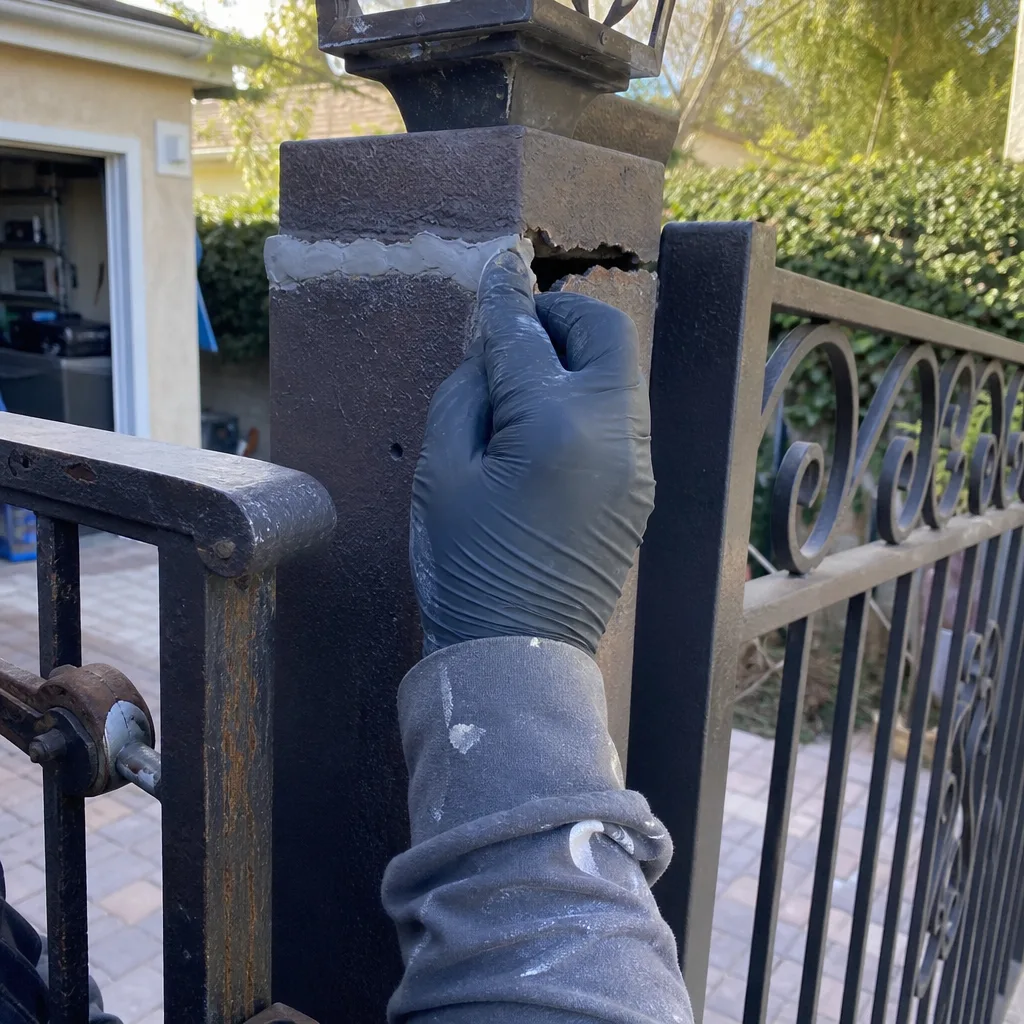
Tarzana’s climate doesn’t have the dramatic freeze-thaw cycles that plague other regions, but it has two seasonal stressors that affect gates in specific, predictable ways. If you only inspect your gate twice a year, these are the two times to do it.
October: After the Summer Heat
Tarzana summers regularly push 100 degrees in August and September. That heat does three things to a gate system. First, it accelerates battery degradation. Heat is the number one killer of sealed lead-acid batteries, and the backup battery inside your gate operator sits in an unventilated metal or plastic box that can reach 140 degrees on a hot afternoon. A battery that was healthy in May might be marginal in October. Second, heat causes thermal expansion of gate panels and rails. That expansion works on hinge bolts and rack fasteners, loosening them by fractions of a turn. By October, accumulated thermal cycling has often produced measurable gate sag. Third, the heat dries out lubricants. Grease that was thick in spring is thin and running by late summer, leaving bearings under-lubricated for the year’s hardest months.
The October check is a mechanical and battery-focused inspection. Check the battery resting voltage, check gate sag, check hinge bolt torque, re-lubricate the chain or rack, and sweep the track. If you do nothing else all year, do this.
Late Fall: After the Santa Anas
Santa Ana winds hit Tarzana between October and February, with peak gusts that can exceed 60 mph in the canyons. A gate is a large sail. Wind loads push the gate laterally against the guide rollers, work the weld joints, and flex the hinge posts. They also deposit debris, leaves, palm fronds, and fine dust into the track, the photo-eye housings, and the limit-switch mechanisms.
The post-wind check is a mechanical and safety-device inspection. Look for new play in the hinges, fresh cracks at weld points, loosened anchor bolts at the posts, and anything that has blown into the track or the beam path. Check that the photo-eyes are still aligned, that the reversing mechanism still triggers within two seconds, and that the gate hasn’t shifted on its mounting. A wind event that knocked the gate slightly out of alignment will turn into a motor failure months later if the extra rolling resistance is never corrected.
Between these two windows, the 20-minute visual check once a month is enough. It won’t catch electrical degradation, but it will catch the mechanical problems that Tarzana’s specific climate produces.
Photographing Your Gate: The Before-Record That Protects You
Here’s a maintenance habit that costs nothing and solves future disputes before they start. Photograph your gate’s current state before any problem develops. Not one photo. A full set. These images become your before-record, the reference point that establishes what the gate looked like when it was working, what the measurements were, and what condition each component was in.
Why this matters: when a gate fails, the technician arrives to find a broken system. Without a before-record, neither you nor the technician can know whether the hinge was already sagging in March or whether the storm in November did the damage. A written repair estimate will sometimes reference pre-existing conditions. Photographs settle that argument instantly. At Vance Gate Repair Tarzana home, we document every visit with a photo record as standard practice, and we recommend homeowners run their own parallel record for the same reason a pilot uses a pre-flight checklist: it captures the condition before the conditions change.
What to Photograph
- Full gate from both sides: Stand at the same angle each time. You want a consistent frame of reference.
- Each hinge assembly close-up: Include the weld points, the pins, and the mounting bolts.
- The track and wheels (sliding gates) or the ground clearance line (swing gates): Use a ruler or tape measure in the frame so the measurement is visible.
- The control box interior: Before you do anything else. This is the electrical before-record.
- The photo-eye alignment: A straight-on shot showing the beam path.
- The operator arm or rack attachment points: Where the motor connects to the gate itself.
- Any signs of wear you’ve already noticed: Rust spots, drag marks, loose bolts. Document them.
Store these in a dedicated phone album or a folder in the cloud. Update them after any repair or adjustment. The next time something fails, you’ll have timestamped evidence of exactly what changed. When a dispute arises about whether a technician caused damage or simply found pre-existing wear, this record is worth more than any warranty card.
Reading Your Limit Switches: What a Healthy Cycle Count Looks Like
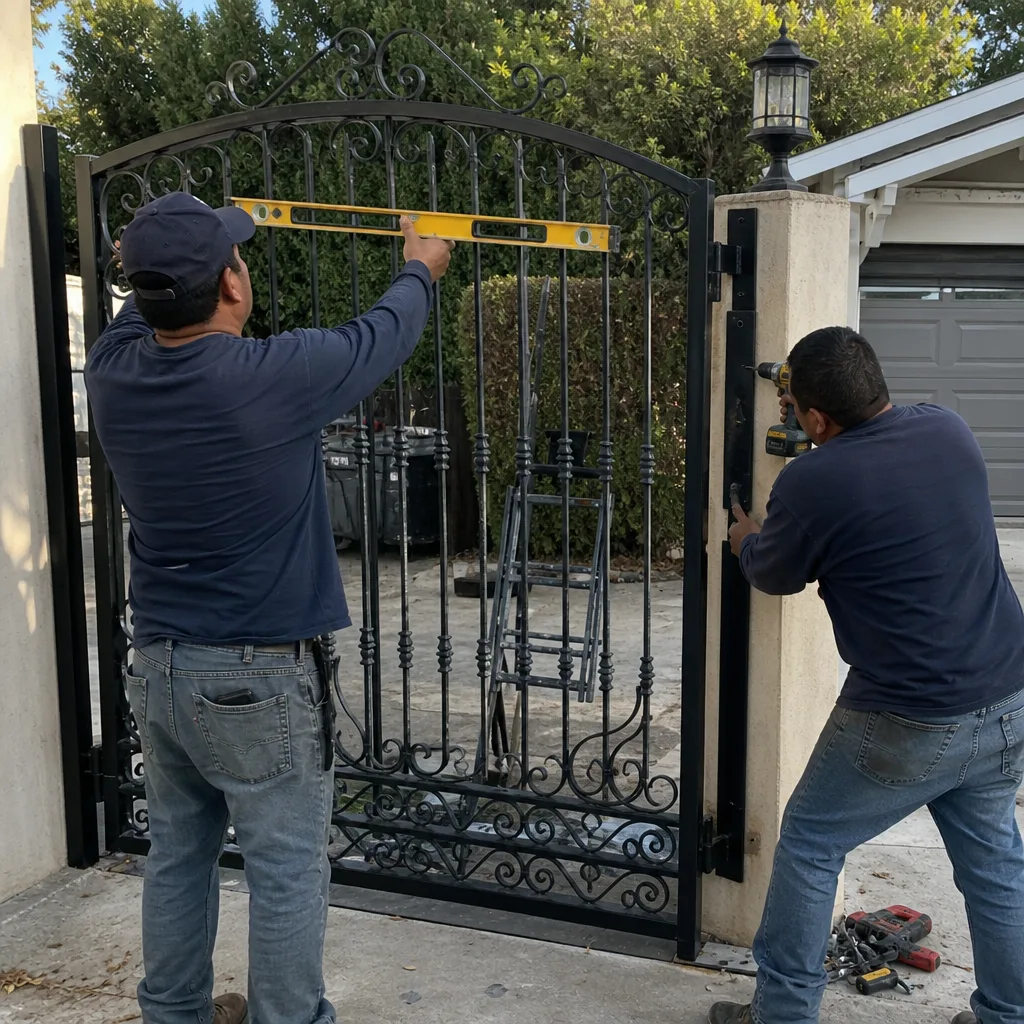
The limit switch is the part that tells your gate motor where to stop. It’s how the operator knows the gate has reached fully open or fully closed. On older mechanical-limit systems, it’s a physical switch that the gate trips as it reaches the end of travel. On newer systems, it’s magnetic or electronic, and the position is stored in the control board’s memory.
What most homeowners don’t know is that the limit-switch setting drifts over time. Not because the switch itself moves, but because the gate does. A hinge that has sagged 1/8 inch means the gate now reaches the latch post at a slightly different angle than it did when the limit was set. The motor still travels the same distance, but the gate is not where the motor thinks it is. The operator compensates by working harder, and the limit switch is now set “past travel,” meaning the motor pushes against the stop point instead of stopping clean.
Here’s the measurable checkpoint: a healthy limit-switch cycle count, for a residential gate in Tarzana that cycles 8 to 12 times a day, lands between 2,900 and 4,400 cycles per year. If you’ve owned the gate for five years and the board says it has accumulated more than 25,000 cycles, the limit switches are overdue for inspection. The actual number isn’t the problem, the gap between the recorded count and the expected count for your usage pattern is. If the count suggests the gate has cycled 50 times a day when you know it doesn’t, someone has been adjusting the travel settings, or the gate is running phantom cycles (opening and closing by itself due to a failing photo-eye or a shorted control input).
To read your limit-switch cycle count, press the diagnostic button on the control board, usually labeled “DIAG” or “TEST” on LiftMaster and Linear units. FAAC and BFT boards display the count through a parameter menu. Write the number down and date it. Next year, subtract. The difference should match your usage. If it doesn’t, call a technician with your numbers.
Backup Battery Voltage: The Reading That Prevents Board Failures
I’m going to spend an entire section on the backup battery because, in our experience at our Gate Repair services, battery failure is the root cause behind roughly one-third of the control board replacements we see in Tarzana. The sequence goes like this: the battery ages and loses capacity. The charger circuit notices and increases charging current to compensate. The increased current generates heat. The heat builds inside the control box, which has no ventilation. The elevated temperature degrades the electrolytic capacitors on the board. The board fails. The homeowner sees a one-time $600 board replacement. The actual cause, the $80 battery, was never replaced.
The fix is a voltage reading, taken twice a year, written down, and compared. Here’s the range for the 24V backup batteries used in most LiftMaster, FAAC, BFT, and Linear residential operators:
- 25.2V to 27.6V at rest: Healthy. The battery is holding charge and the charger circuit is working correctly. Move on.
- 24.8V to 25.1V at rest: Borderline. The battery is aging. Plan to replace it within six months. Do not wait until it fails completely.
- Below 24.8V at rest: Failed or failing. The charger is working overtime, and heat is building in the control box. Replace the battery now.
- Above 28.0V at rest: The charger is overcharging. This kills batteries quickly and can damage the board. Call a technician.
If you want to test the battery under load, trigger a manual open cycle while the gate is on battery power and watch the voltage. A healthy battery drops to about 23V under load and recovers to above 25V within a minute. A failing battery drops below 21V under load or takes more than five minutes to recover. That sag under load is what kills boards.
For Gate Installation in Tarzana clients, we always include a battery voltage baseline in the handoff documentation. If you bought your home with a gate already installed and you’ve never seen a voltage reading for it, the next maintenance visit is the time to get one.
Using the Checklist as a Pre-Call Document
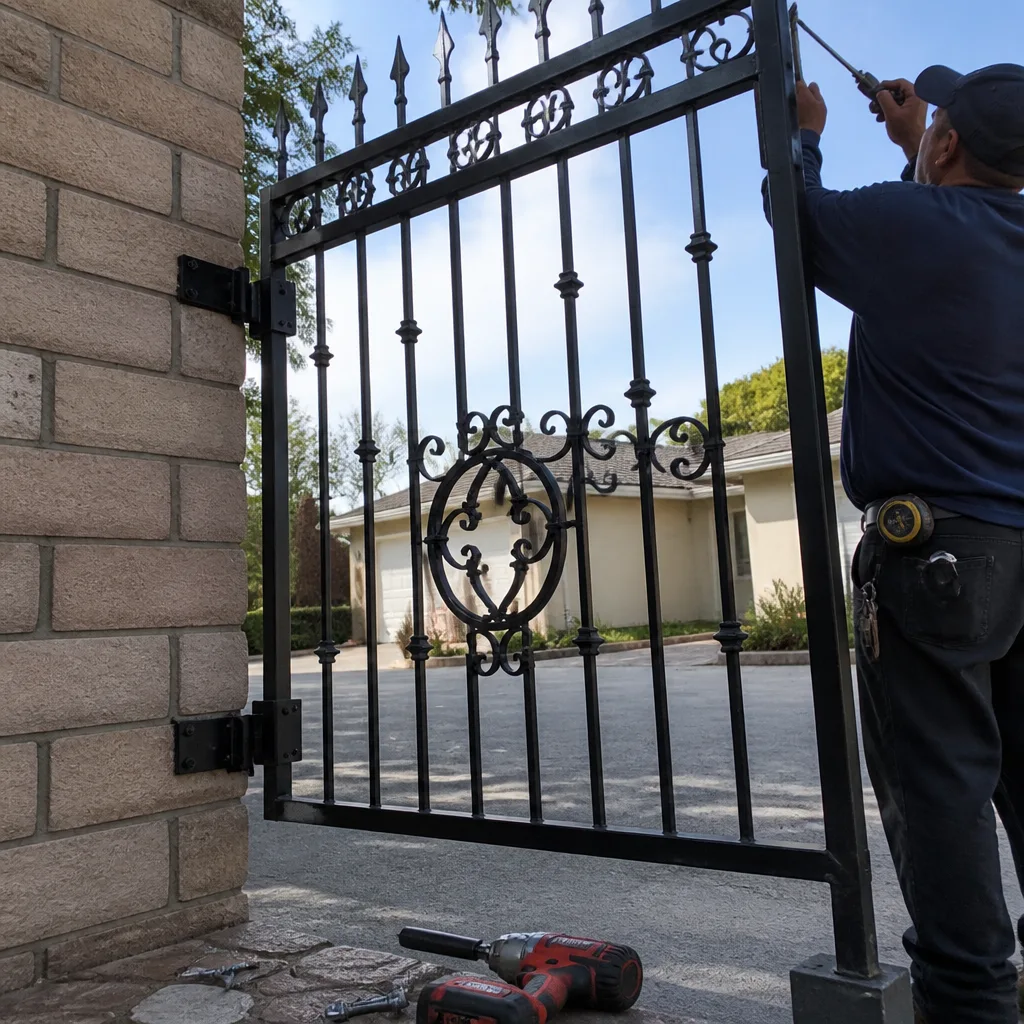
Here’s where this checklist becomes more than a maintenance ritual. When you eventually need a repair, the readings you’ve collected can cut the service visit in half. Not because they solve the problem, but because they tell the technician where to look. A service call has a diagnostic phase and a repair phase. The diagnostic phase is where the time goes. If you hand the technician a sheet that says “motor draw increased from 3.1A to 4.2A over six months, battery resting voltage at 24.4V, gate sag increased 1/4 inch since October,” the technician skips the diagnostic phase and starts the repair.
Here’s how to structure the pre-call email or text. Include:
- The symptom in one sentence: “Gate reverses halfway through the closing cycle.” Not “The gate is acting weird.”
- Your most recent readings: The numbers from your last checklist pass, even if that pass was three months ago.
- What changed since the last pass: “Previously closed with no hesitation; now hesitates at the midpoint.”
- Photos: Your before-record plus current photos of any visible change. Attach them to the same message.
- The age of the main components: When the motor, battery, and board were last replaced, if you know.
This document is also your protection. It establishes that you were maintaining the gate, that you noticed the problem early, and that you can describe it precisely. When a technician quotes a repair, your notes mean the quote is based on data, not on a guess made in the driveway while the meter beeps. We train our technicians at Vance Gate Repair Tarzana to ask for pre-call readings precisely because a documented problem is a faster, cheaper repair. For Gate Repair Permits, Codes & Inspections in CA: What You Need to Know, your records also help demonstrate compliance. The habit of writing things down is the cheapest maintenance there is.
Common Mistakes to Avoid
- Lubricating the track or rail with WD-40. WD-40 is a solvent, not a lubricant. It cleans the track and then evaporates, leaving the surface drier than before. Use a lithium or PTFE-based grease on chains and gears, and keep the track dry and clean instead of lubricated. Tarzana’s dust sticks to any wet lubricant and forms an abrasive paste.
- Ignoring the backup battery until the power goes out. The battery’s real job is running the gate during a power outage, but its continuous job is buffering the DC supply to the control board. A failing battery stresses the board every single day, not just on the one day a year the power fails.
- Adjusting the limit switches to fix a sagging gate. When the gate sags, the motor no longer stops at the correct point, so the gate overshoots or undershoots. Adjusting the limit switch fixes the symptom, not the cause. The hinge wear is still there, and now the switch setting is compensating for it. You’ll eventually replace the hinges and then have to re-set the limit switch again. Fix the sag first.
- Powering the gate off and on to “reset” it. If the gate is intermittently failing, the problem is still there after the reset. Resetting clears the symptom temporarily and makes the technician’s job harder, because the failure mode is no longer present when they arrive. Write down what happened, take a photo of the control board lights, and leave it powered on.
- Oiling door hinges on a swing gate to quiet a squeak. The squeak is often the hinge pin wearing against the bracket, not a lack of lubrication. Oiling quiets the symptom while the wear continues underneath. Measure the vertical play before and after. If the play is increasing, the hinge needs replacement, not oil.
- Not recording any baseline readings because “the gate works fine.” The gate works fine until it doesn’t. The readings you take today are the comparison you need when it fails. Without them, every future diagnosis starts from zero.
- Hiring the first company that answers because they’re available today. A gate repair that needs a same-day fix is urgent, but a quoted repair you’ve been putting off for months does not need the first available technician. Get the written quote, compare it, and check what documentation the company provides after the work. In Tarzana, the difference between a documented repair and an undocumented one is often the difference between a gate that keeps working and a gate that fails again in nine months.
When to Call a Professional
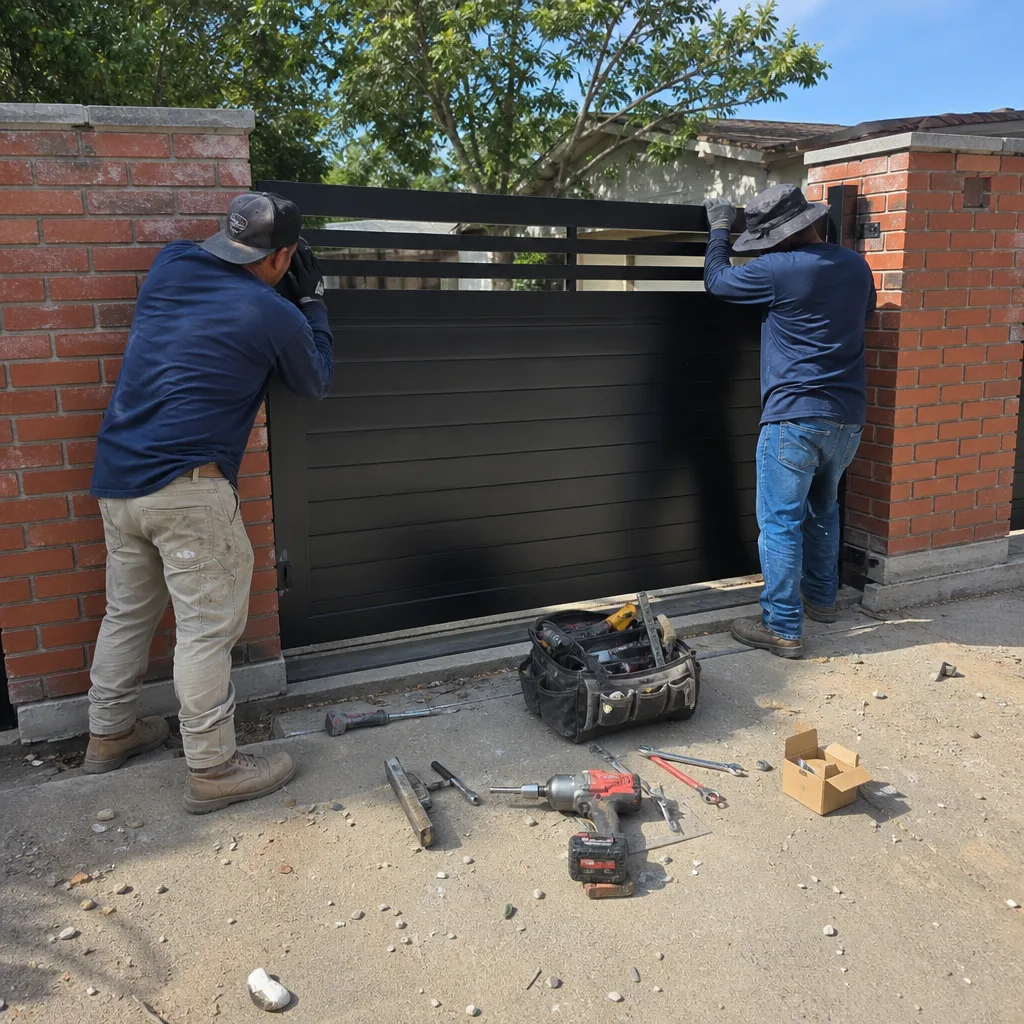
Call a professional when a reading is outside the threshold, a trend is moving in the wrong direction, or you’ve found a problem you can’t see. Specifically: motor amp draw at or above nameplate amps, battery resting voltage below 24.8V, gate sag beyond 1/4 inch, photo-eye failing to reverse the gate within two seconds, limit-switch cycle counts that don’t match your usage, any burning smell near the control box, or physical damage to the gate, hinges, or track. You don’t need to diagnose any further. The reading is enough. Vance Gate Repair Tarzana offers free estimates in Tarzana for every checklist item that turns up a reading outside the healthy range. Call (424) 258-8818 and we’ll come out, verify the reading, give you a written price, and document everything we find.
Working on gate springs, cables, and high-tension components carries genuine injury risk. The torsion bars inside some operators are under tension even when the power is off. If your checklist uncovers a broken spring, cable, or any component that stores mechanical energy, stop the inspection and call a trained technician. The gate is not worth a trip to the emergency room.
Frequently Asked Questions
Run the 20-minute visual checklist monthly and the full checklist, including electrical readings, twice a year: once in October after summer heat and once in late fall after Santa Ana wind season. Tarzana’s climate loads the gate seasonally, and those two windows catch the damage before it becomes a failure. Call (424) 258-8818 if any reading falls outside the healthy range; estimates are free.
A healthy 24V backup battery reads between 25.2V and 27.6V at rest. Below 24.8V means the battery is aging and should be replaced within six months. Below 24.0V means the battery has failed and is stressing the charger circuit and control board. Call (424) 258-8818 for a battery replacement quote, and we’ll give you the price in writing before any work starts.
No. Tarzana’s fine dust and Santa Ana debris will combine with any wet lubricant on the track to form an abrasive paste that accelerates wear. The correct maintenance for the track is cleaning, not lubrication. Use a stiff brush to clear debris, and let the wheels run dry. Lubricate only moving metal-to-metal joints, chains, gears, and hinge pins, using a lithium or PTFE-based grease.
Measure the vertical movement at the free end of the gate. Up to 1/8 inch of play is acceptable. Between 1/8 and 1/4 inch means the hinge pins are wearing and should be replaced within the year. Beyond 1/4 inch, the hinges are no longer supporting the gate structure, and continued use will damage the motor, the limit switch, and the latch. Call (424) 258-8818 for a hinge replacement quote; we’ll measure the sag and write the price before we start.
Our inspection visits include the full checklist: motor amp draw, battery voltage, limit-switch cycle count, hinge play, photo-eye response, and a written record of every reading. The price depends on the gate type and the operator brand, but it is always quoted and handed to you in writing before the inspection starts. Call (424) 258-8818 and a live person will answer and give you the flat price.
Yes. Every visit from Vance Gate Repair Tarzana includes a documented photo record: what we found, what we measured, what we adjusted, and what part numbers we used. This is the same commercial-grade documentation habit Adrian Vance developed on access-control sites starting in 2014, and it’s included on every residential visit at no additional charge. You get the record, we file the copy, and no future technician has to guess what was done.
The Bottom Line
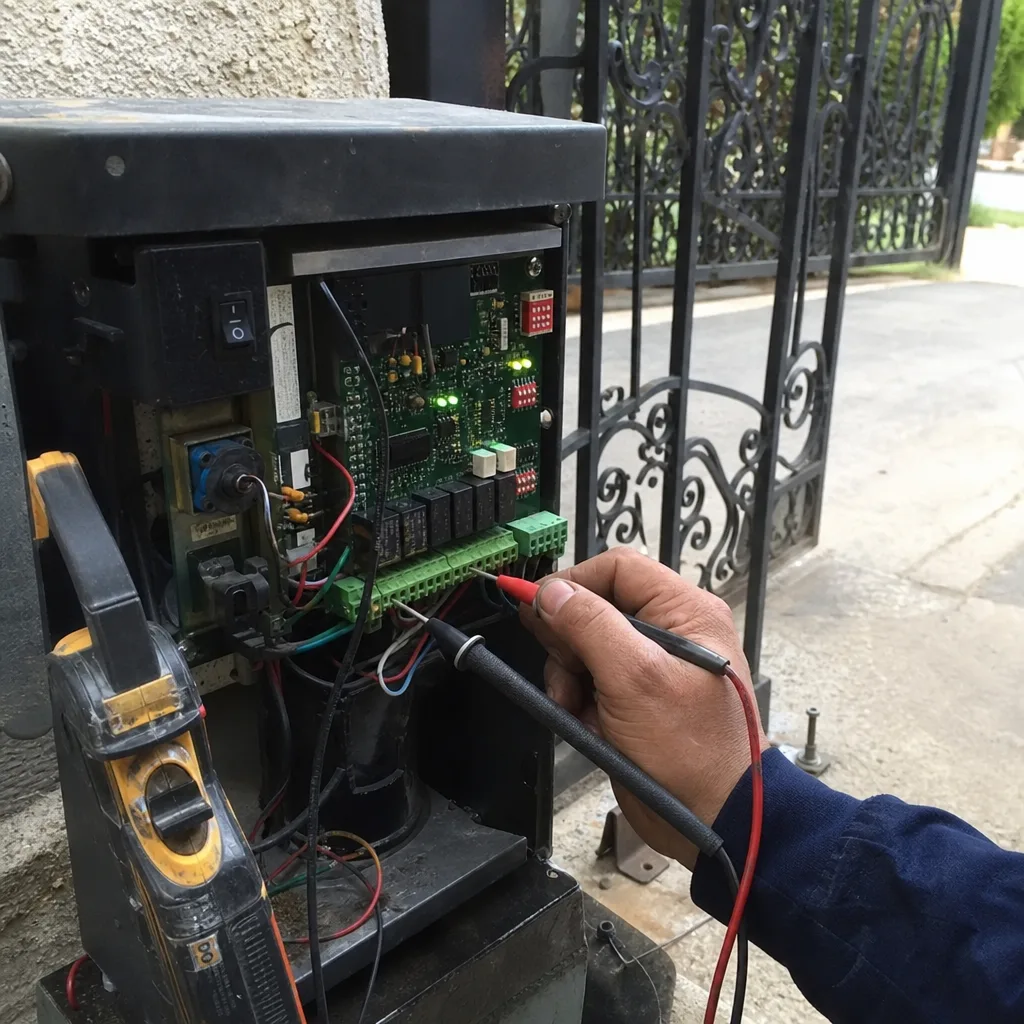
A maintenance checklist is only as useful as the thresholds it gives you. “Inspect the gate” is advice for people who already know what to look for. “Verify battery resting voltage reads 25.2V or higher” is a task you can execute and a result you can record. Run the 20-minute visual check monthly. Take the full set of readings twice a year, at the two Tarzana windows that matter: after the summer heat and after the Santa Anas. Photograph everything. Write down every number. When a reading moves outside the healthy range, call (424) 258-8818 and give the technician your data. The gate that is maintained with measurements is the gate that doesn’t surprise you, and the gate that doesn’t surprise you is the gate that costs the least to own over the long run.
Written by Adrian Vance, Owner at Vance Gate Repair Tarzana, serving Tarzana since 2014.